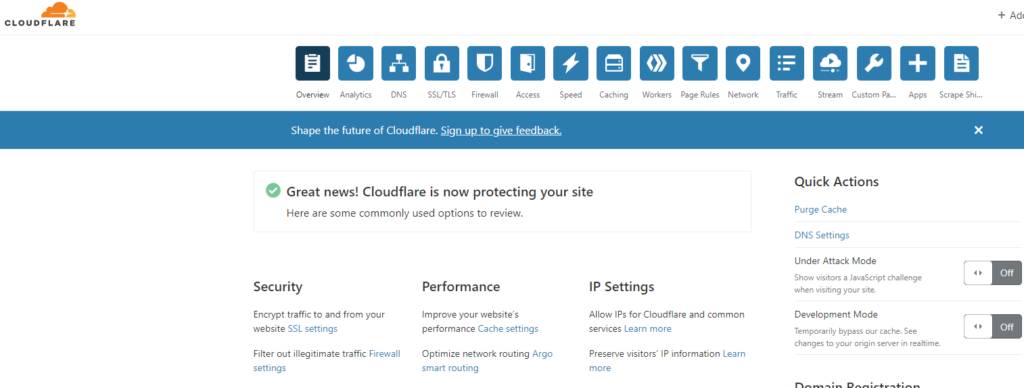
CloudFlare is a CDN (CDN is a global network of servers that quickly delivers data, using cache servers and PoP “access points” that are geographically closest to the user. Your website’s static content is stored on each server in the network). It allows your website to load faster. It can also be used as a free and reliable DNS management for domains.
First, you need to go to the cloudflare.com website.

Click on Add a Site to add your domain.
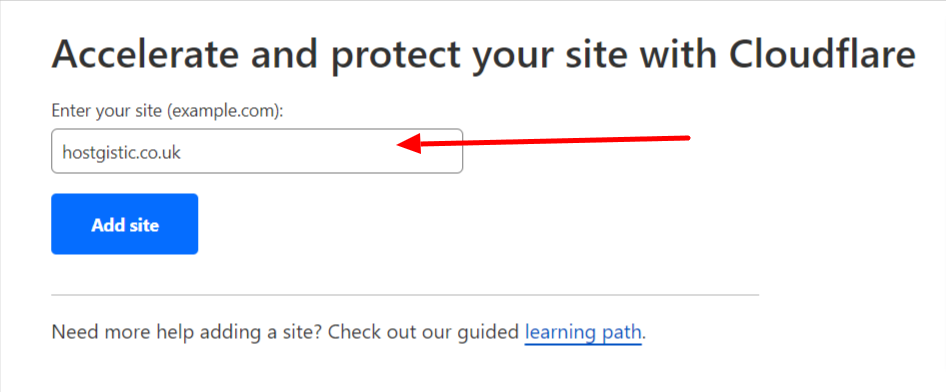
Enter your domain and click on the Add Site button.
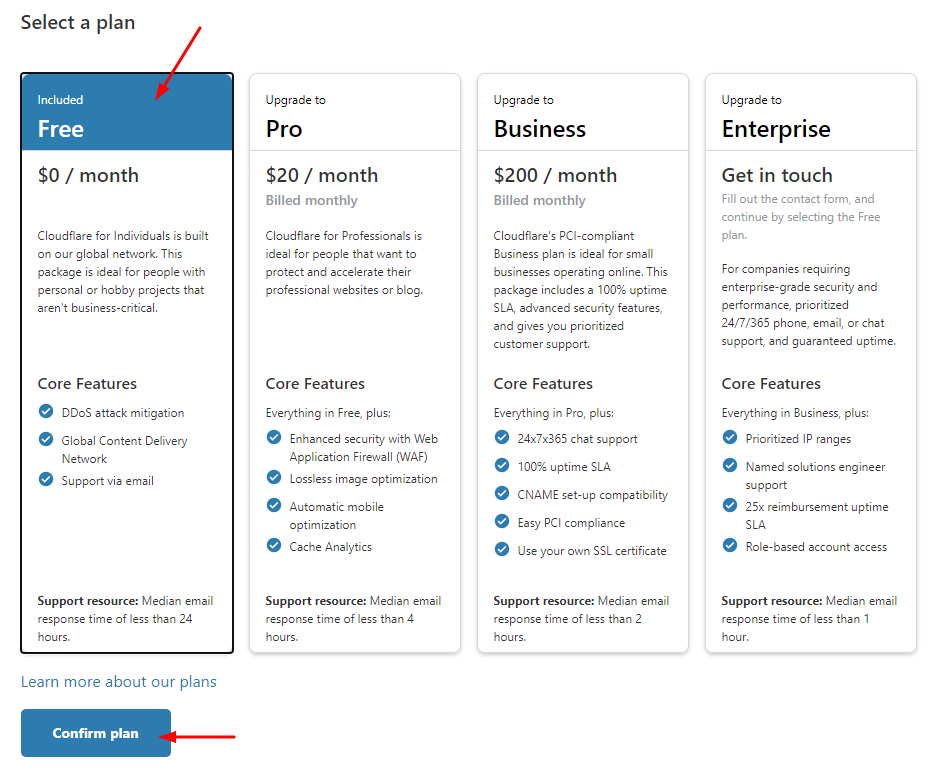
Click on Free to select the free version of CloudFlare and then click on Confirm plan. After that, an image will appear as below where CloudFlare is trying to scan your DNS records to copy them into their system. Wait a little, and it will automatically take you to the next page.
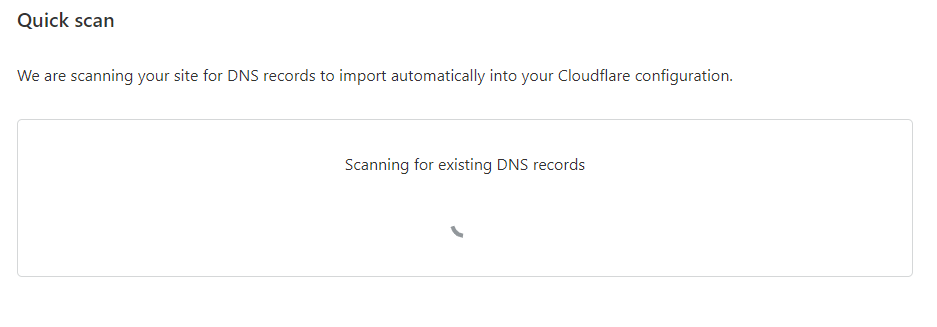
When it’s finished, you’ll see something similar to the next image.
Note: If you don’t get anything similar to the image below with orange clouds underneath, it means the DNS settings were not read correctly. Contact support with a screenshot of what you got to help you continue.
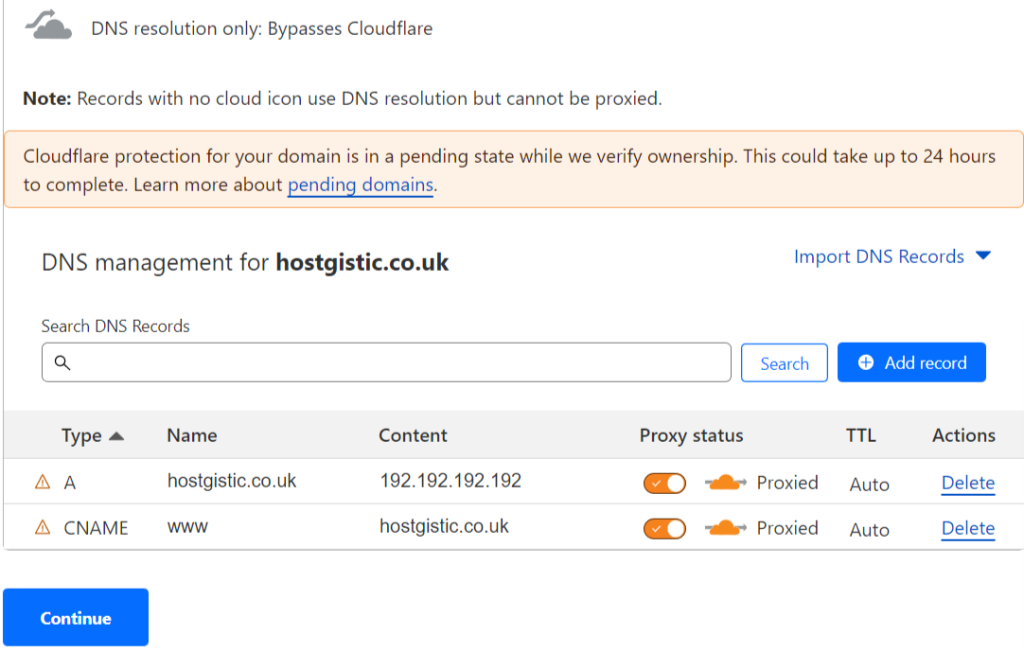
Now, if everything is fine, just click on Continue.
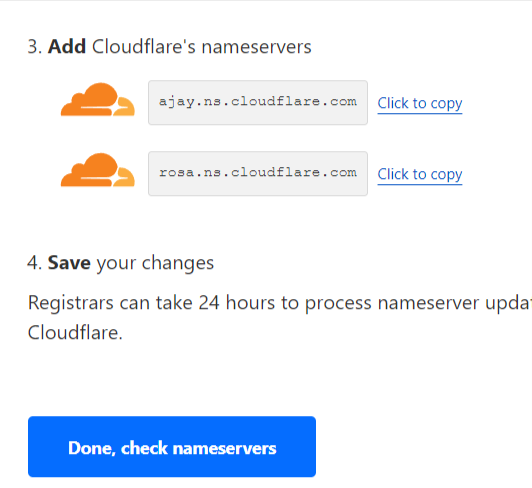
Now you only need to change the nameservers on the domain. Nameservers are changed where the domain is purchased. For a domain purchased from us, you can change it using the following instructions:
After that, go further and you will get:
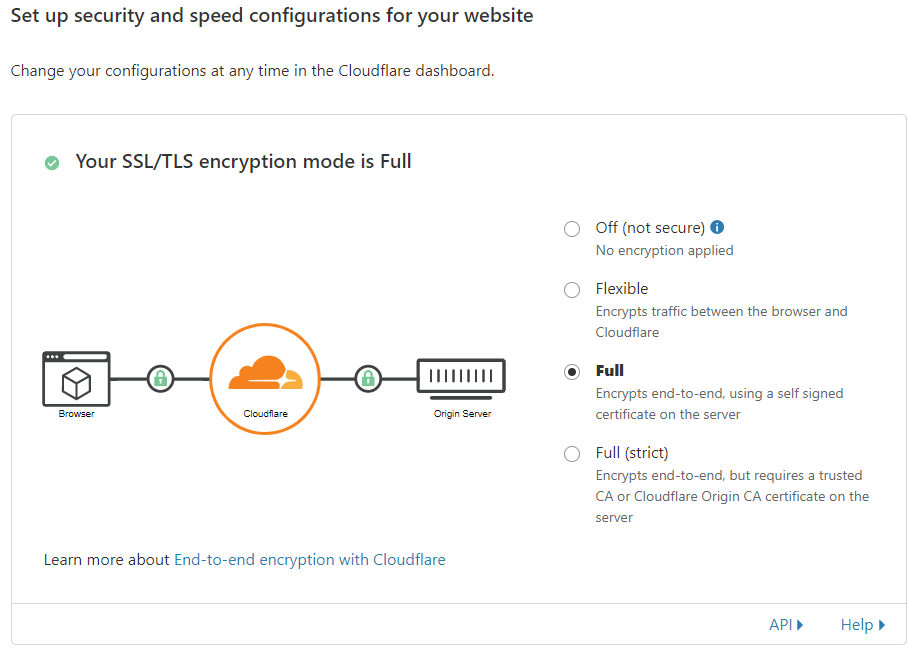
Here, leave it as it is on Full.
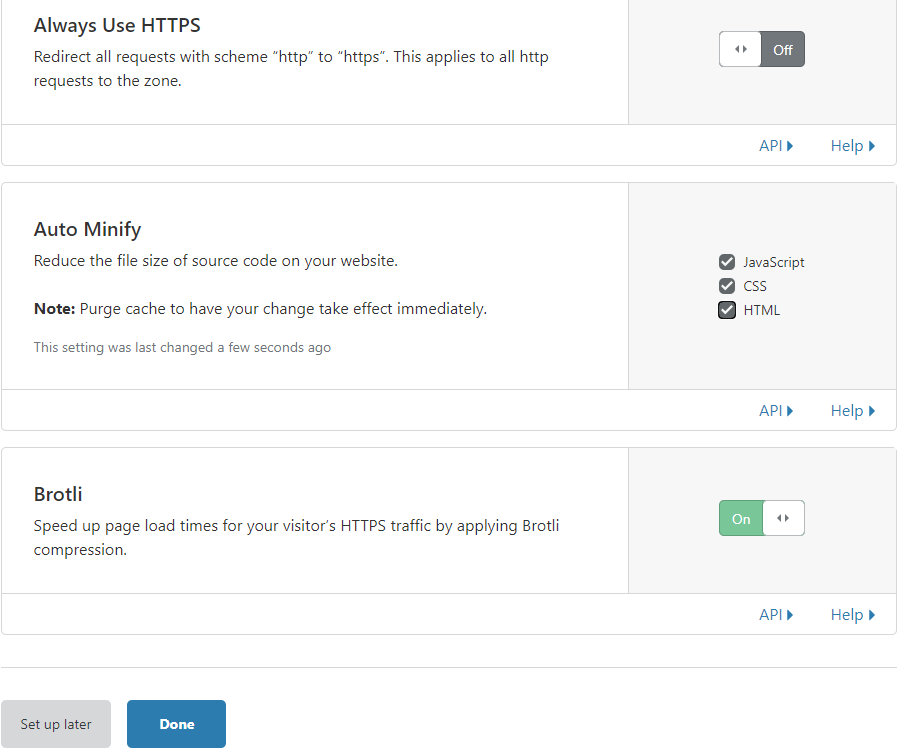
If you tick AutoMinify for JavaScript, CSS, and HTML here, you don’t need to set the same option in the caching plugin. Leave it enabled in only one place, either CloudFlare or the plugin.
When CloudFlare checks the nameservers, you will receive an email that everything is set up, and you have completed the CloudFlare configuration.
