IMPORTANT NOTE: Setup CDN require advanced knowlage about DNS. If you are not sure about what you need to do, then advice is to skip this becuase you can easialy make mistake and make your website unavailable.
Setup this step it will not significantlly speed up your website, definitely it will help and speed up but not that much to risk to make mistake if you are not sure about what you are doing.
Now visit the website https://my.quic.cloud/
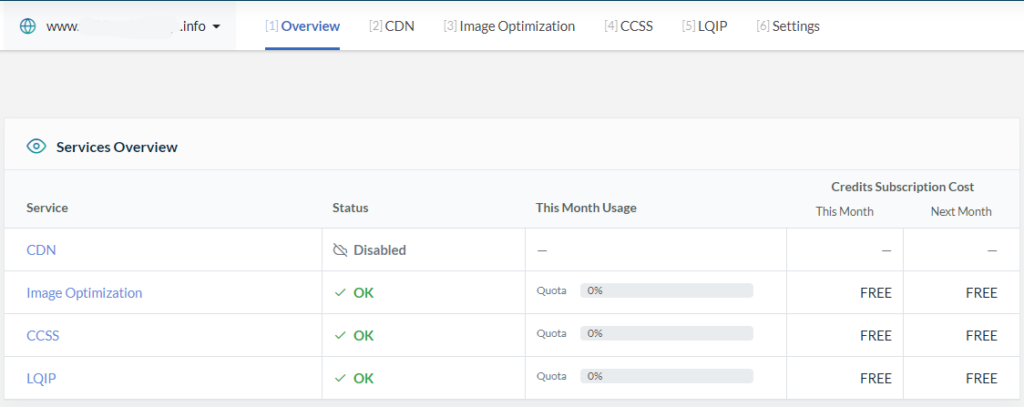
By default, CDN is not enabled. Click on Enable CDN, and the following page will appear:
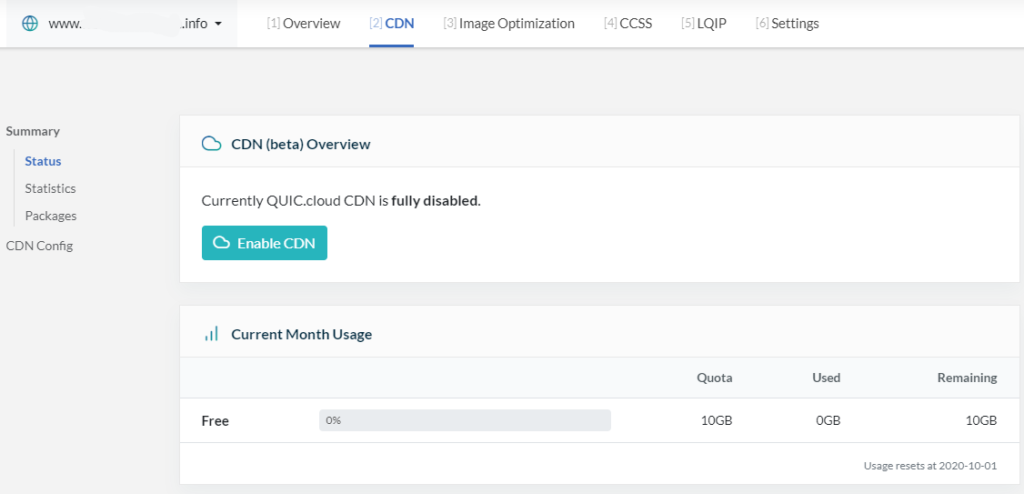
By default, CDN is not enabled. Click on Enable CDN, and the following page will appear:
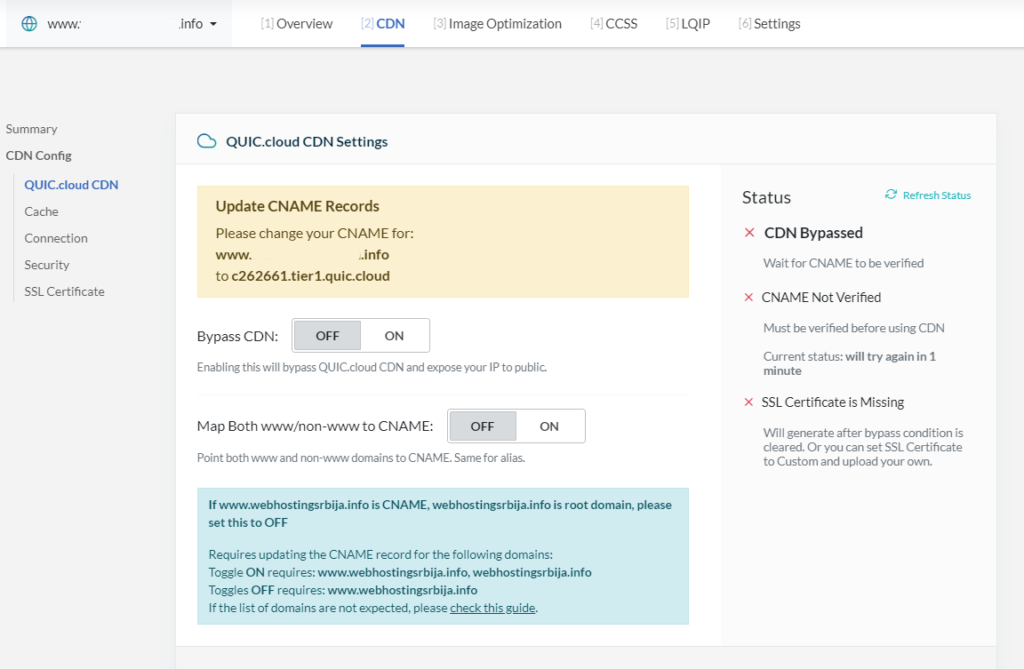
At this moment, you can set up CDN in two ways. You need to enable CNAME for the domain in the DNS management, as framed in yellow (this option is not supported by all DNS management systems).
The second option is to have your site open with www (if it’s not already). So on the site, you need to change everything to www.yourdomain.com instead of just https://yourdomain.com to be https://www.yourdomain.com; you can do this using the better search and replace plugin.
In the following, we described three methods of setting this up; choose the one that suits you. We did it using Method 1 because it requires the least work and has the fewest complications. After that, further settings follow.
Method 1 (marked in orange)
Here’s an example of how to set up the first option using CloudFlare DNS management:
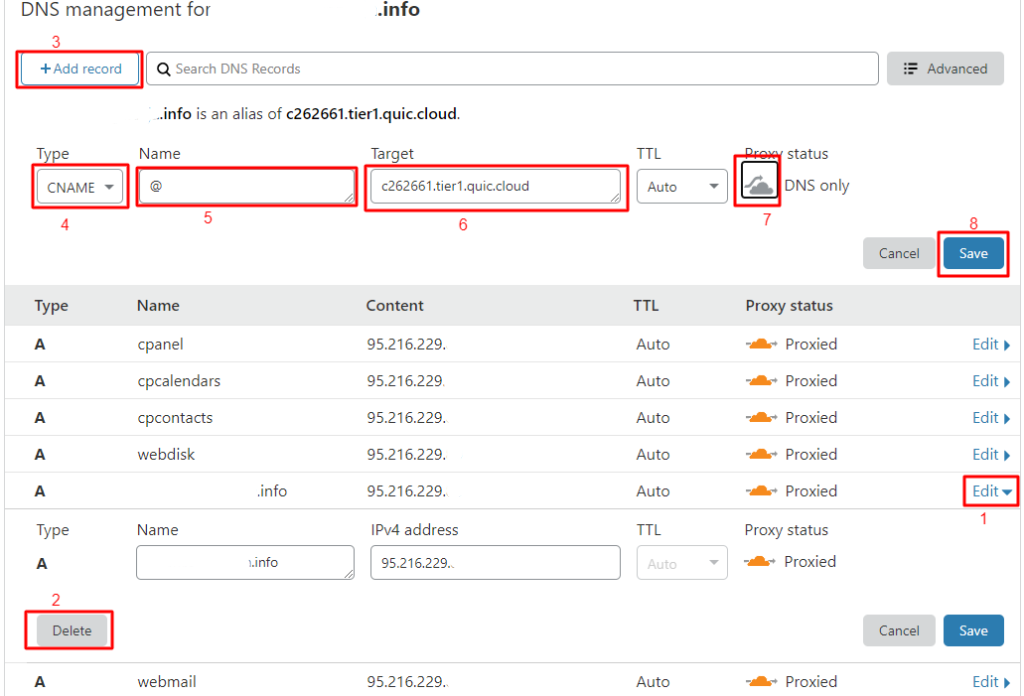
- Click Edit on the A record of your domain as shown in the example image
- Click Delete and then on the popup click Delete again
- Then click Add record and fields will appear as in the image below
- In Type, choose CNAME
- In the name, enter the @ character that replaces your domain or enter your domain
- For Target, enter what you got on the quic.cloud site when you enabled the CDN
- Turn off the orange cloud
- Click save
That’s it, you’ll get as in the image below

Method 2
Click Bypass CDN

With this, you have finished, and the CDN sends the request directly to your page.
Method 3
Map Both www/non-www to CNAME enables CDN using www in front of your domain. Therefore, you need to change the domain if it’s not already at www.yourdomain and open it with https://www.yourdomain.com instead of https://yourdomain.com.
Now that we have finished those settings, we move on to the next CDN-related settings.
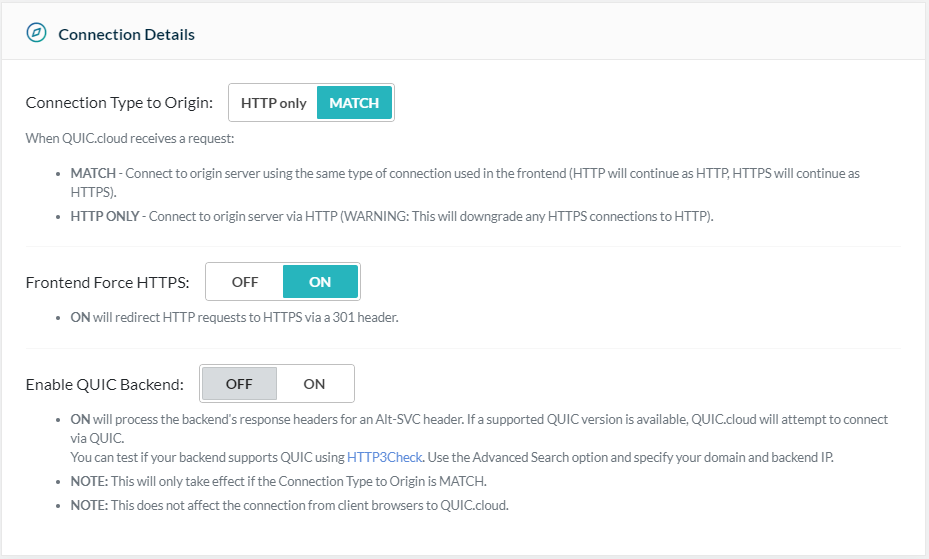
Here we set both options to ON. Very important.

In this part, we leave the options as they are, as in the image below.
Besides making your site load faster, this plugin raises the security level. In the following section are the security options offered.

Here you have the option to protect your site in case of a DDOS attack or enable the maximum number of login attempts. This prevents your site from being overloaded by hackers, bots.
When one of these two limits is reached, a reCAPTCHA will appear that must be solved to proceed. If you suspect that your site is under load but you don’t actually have visitors, enable this option and monitor whether the load will decrease.

This option allows you to instantly block access to the site by automatically placing reCAPTCHA on the site when entering the site. This is useful if you are under an attack that you cannot prevent.

In this part, you can set up a whitelist so that the IP is not blocked, and the reCAPTCHA does not appear when a visit comes to the site from that IP address. This is useful, for example, when you are under attack and have enabled the previous option but do not want reCAPTCHA to open for yourself, then set your IP address here and avoid filling it out every time. Also, you can put it on the BlockList if you know which IP is problematic and immediately block access to the site.
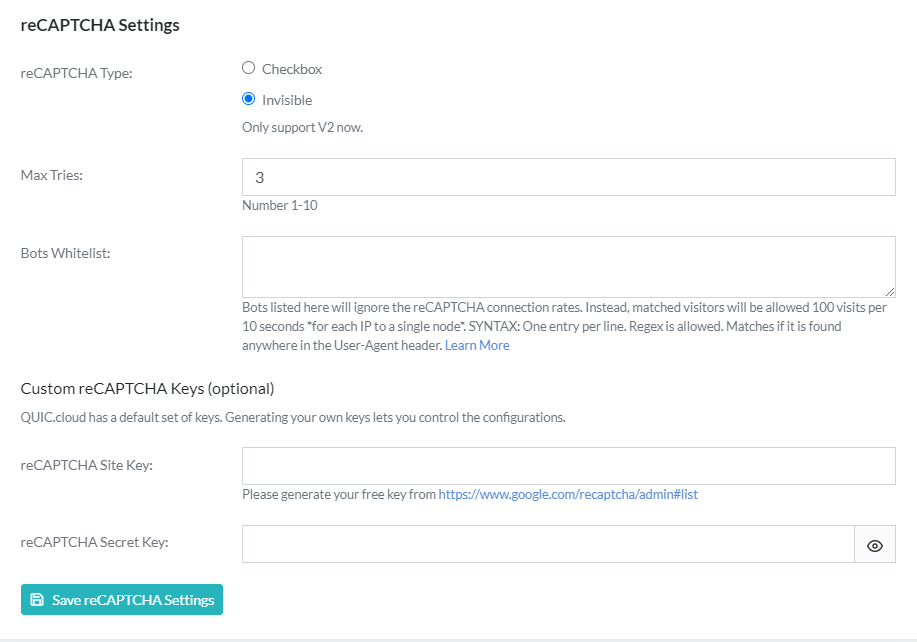
In this part, you enable reCAPTCHA for how many times it can be attempted, you can whitelist bots so they won’t see it (it’s good to enable this). An example of what you should enter can be found at this link: https://quic.cloud/docs/cdn/setup/bots-whitelist/
In Custom reCAPTCHA, you can set your own key if you have one.
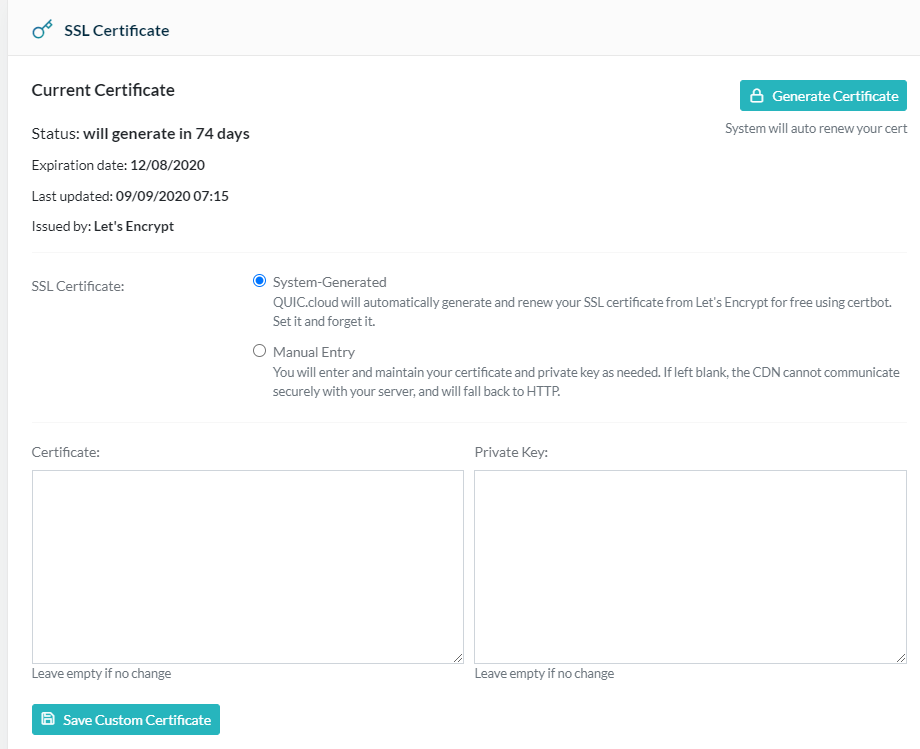
In this part, don’t do anything and skip it because the system automatically sets up SSL and renews it.

