Mass email or marketing email (spam) can be sent using services that allow bulk emailing. Keep in mind that spam is also prohibited by law. Spam is an unwanted email message that aims to advertise a product or service.
For the purposes of this tutorial, we will use the site: https://www.mailerlite.com/pricing, which allows us to send mass emails (not spam).
First, you need to register for free at https://www.mailerlite.com/signup
After registration and verification of your email, proceed to the next step on their website, as shown in the image below:
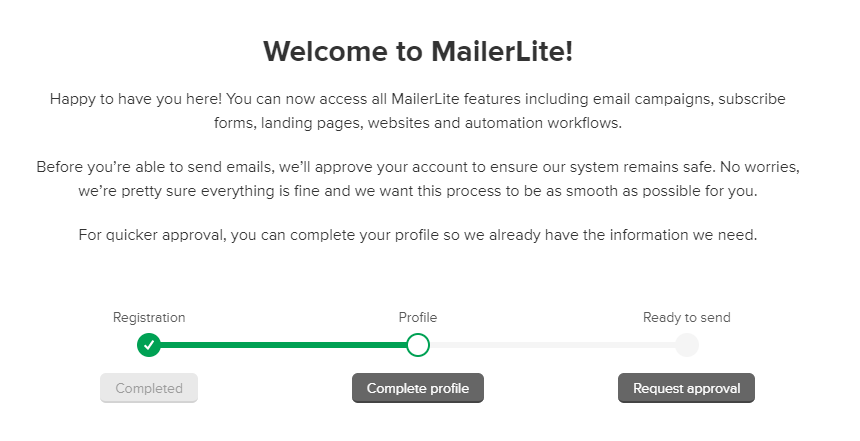
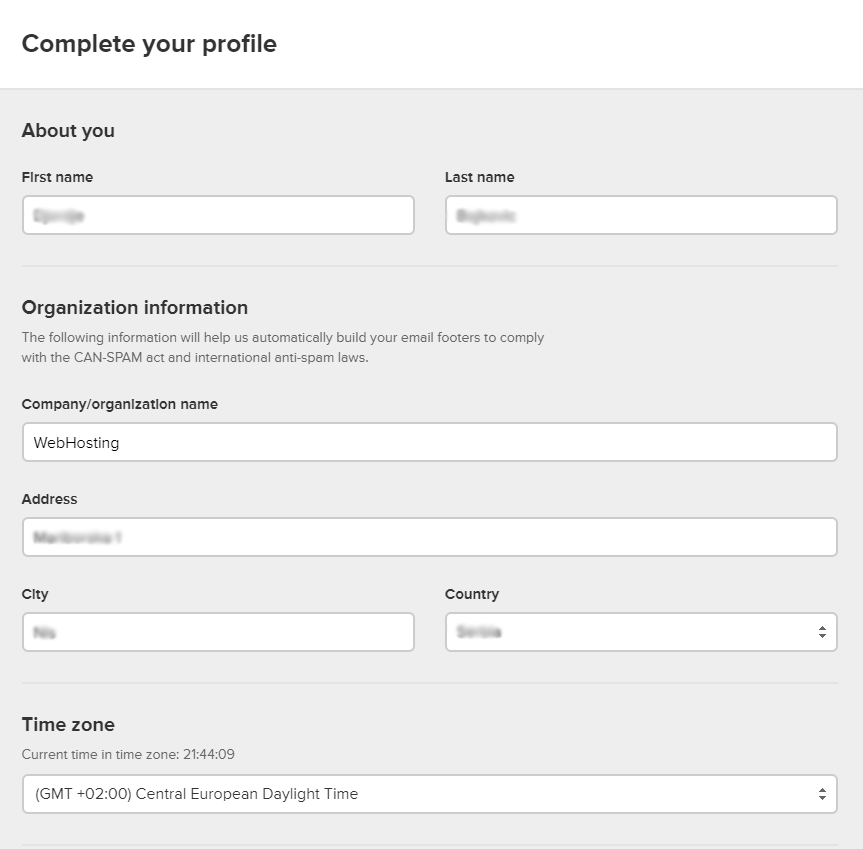
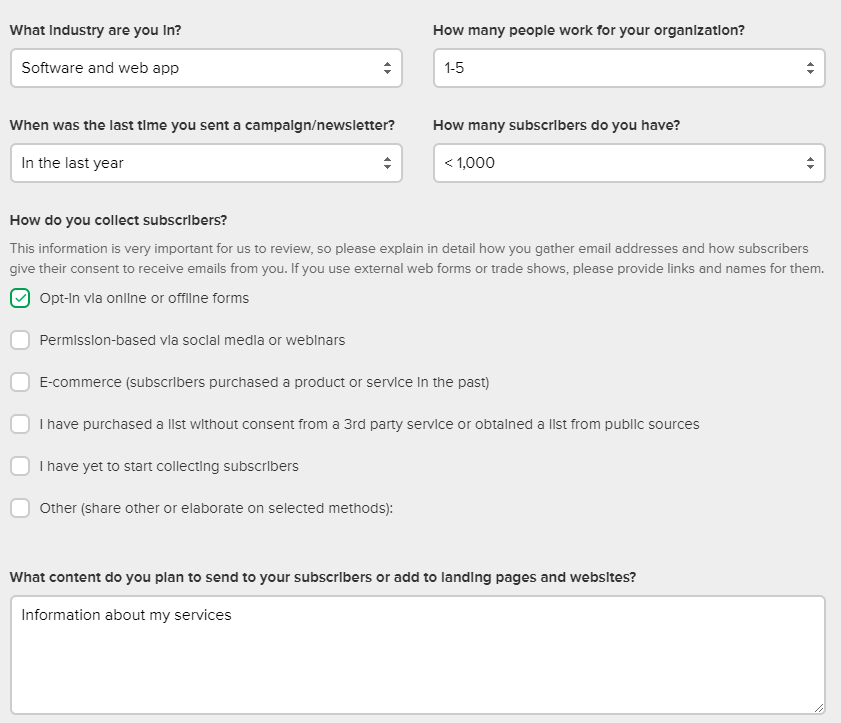
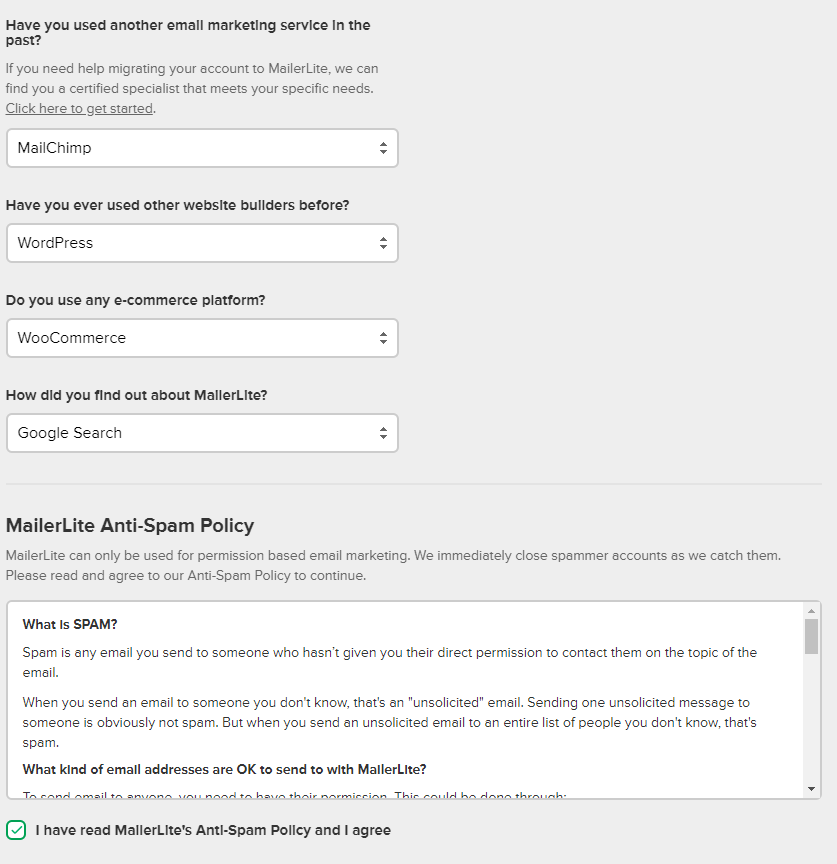
Kada kliknete na sivo dugme Complete profile dobijete stranu gde unosite podatke tu popunite vase podatke i onda korak dalje.
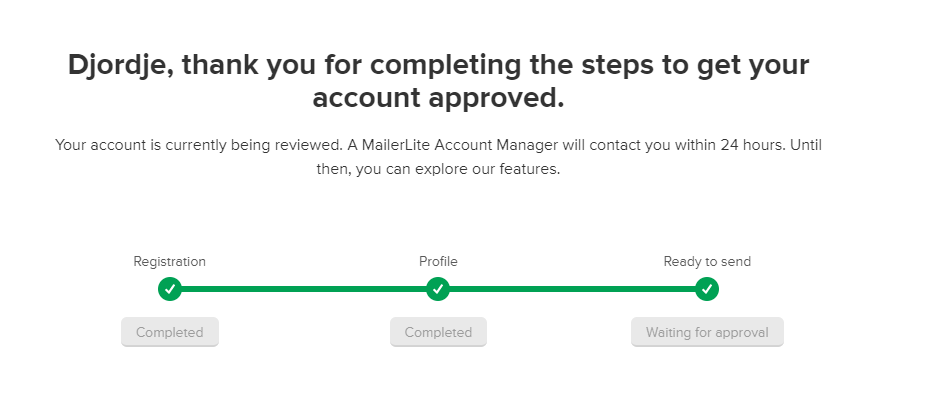
After that, click on the Request Approval button, where you send a request for processing and confirmation. When we followed the instructions, our account was approved within 6 minutes.
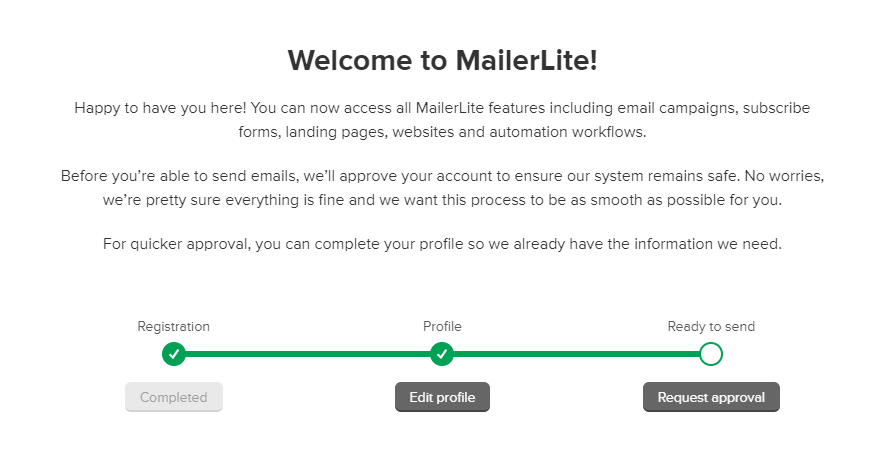
While waiting for approval, you can create a campaign and design your email, as well as set up the email addresses to which you want to send the mass email.

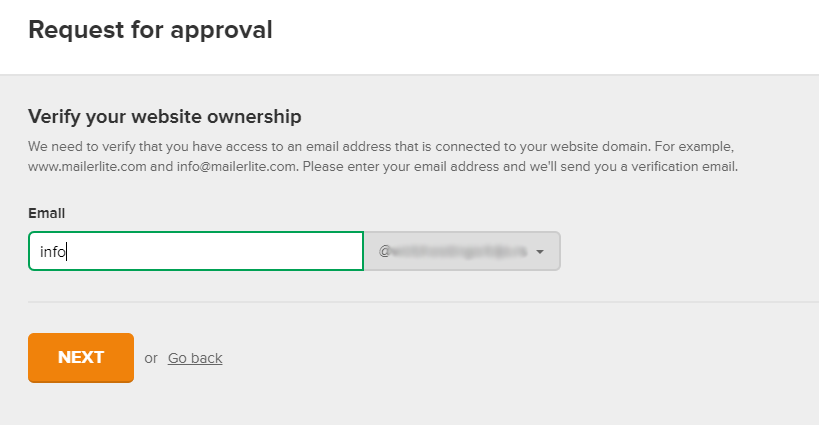
After clicking on the request approval, you will see the screen as shown above, where you enter your website, and in the next step, you enter your email, as shown in the image below.
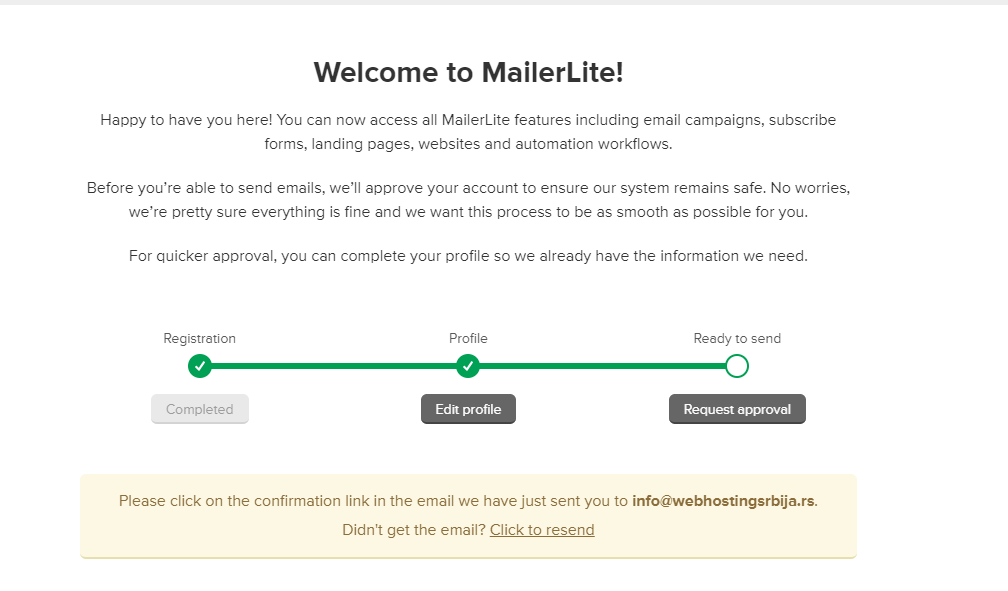
Upon completion, you will see a page similar to the one in the image, where an email has been sent to your email address for you to confirm the registration. In the email, after clicking on the green button and confirming, you can continue with your work.
Kako da dodate email adrese na vašu listu tako što kliknete u glavnom meniju Subscribers
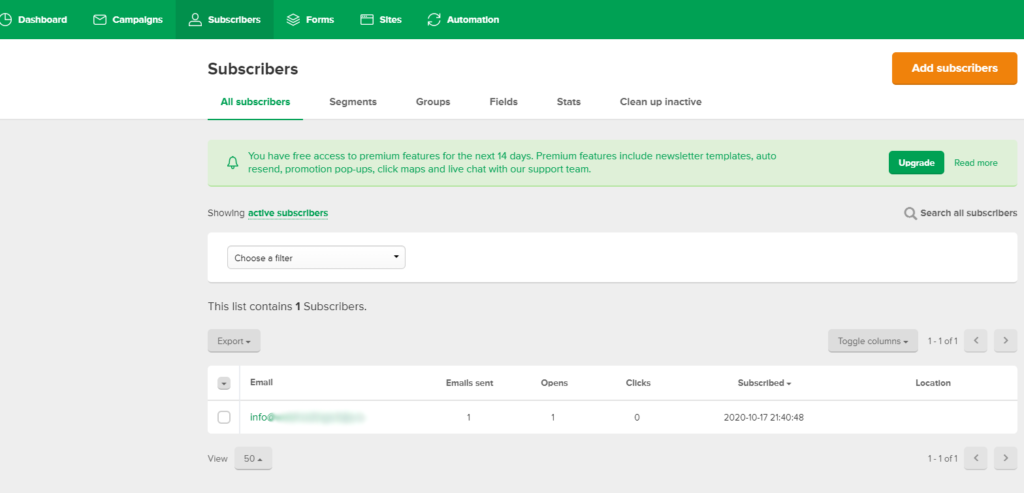
Next, click on “Add subscribers.” In the following step, simply upload the file containing the email addresses you want to send your campaign to.
You can find a list of email addresses, for example, from a WordPress site using a plugin like https://wordpress.org/plugins/users-customers-import-export-for-wp-woocommerce/ or any other method you prefer. Save the list and upload it.
This website (MailerLite) also has its own plugin (as do most major email marketing platforms), which makes it easier to add email addresses:
The next step is creating a campaign.
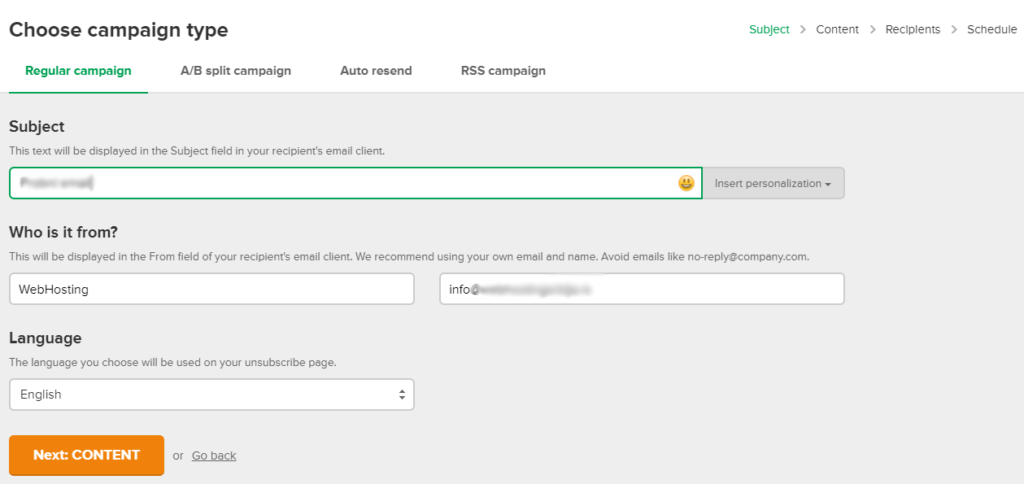
Upon creating a campaign, you’ll see the first page where you enter the subject in the first field, the sender’s name in the second field, and your email address. Then, proceed by clicking on “Content.”
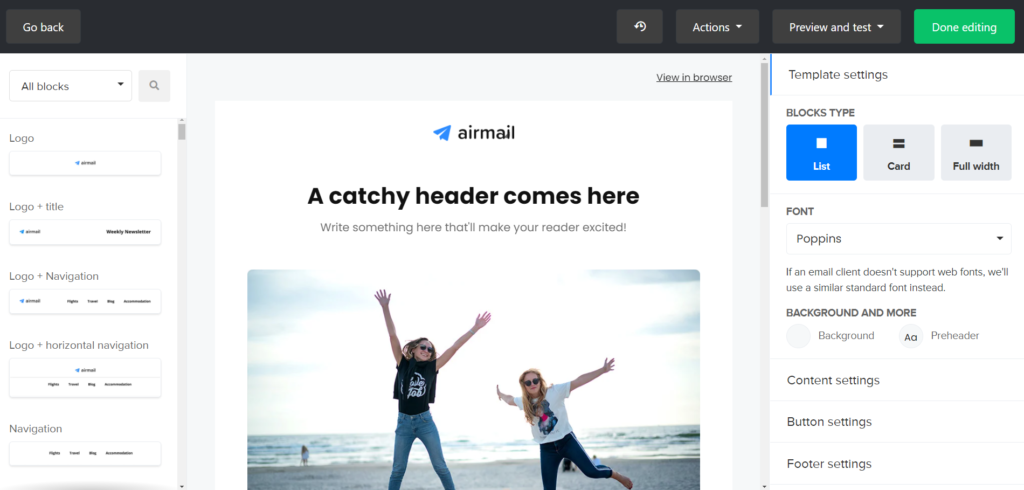
After clicking “Next,” you’ll get to a page that looks like a puzzle, where you create the appearance and content of your email. Once you’re finished, click the green “Done Editing” button.
After that, the next step is to check the box for the list/group you want to send the email to and then click “Next.”
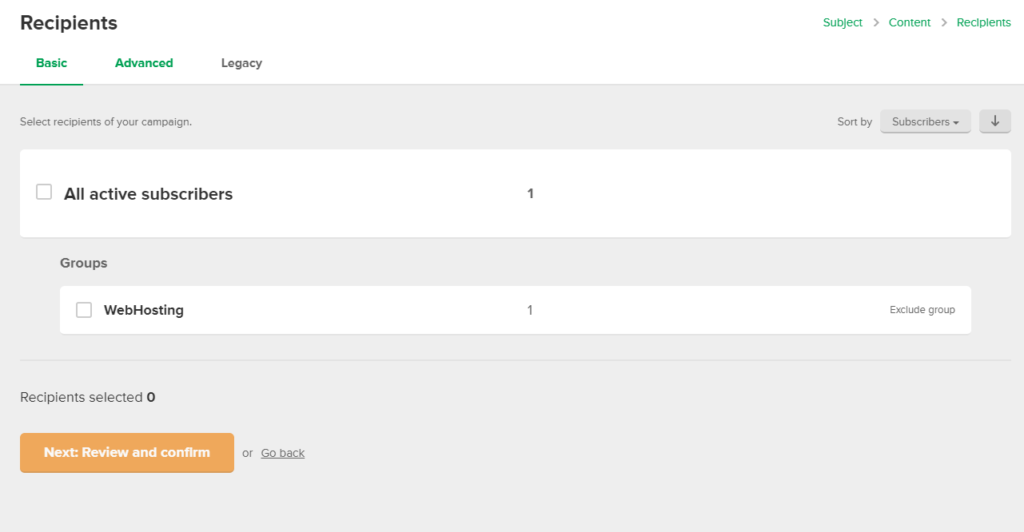
In this step, you can click “Send Test Email” to see how your email actually looks and make sure you haven’t missed anything. This is definitely my advice.
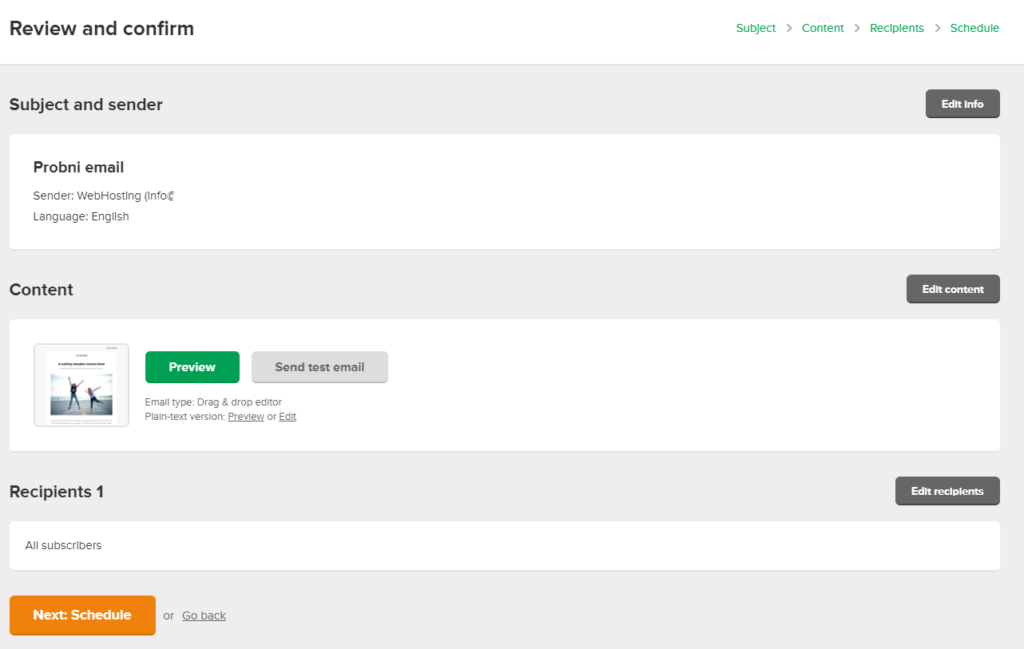
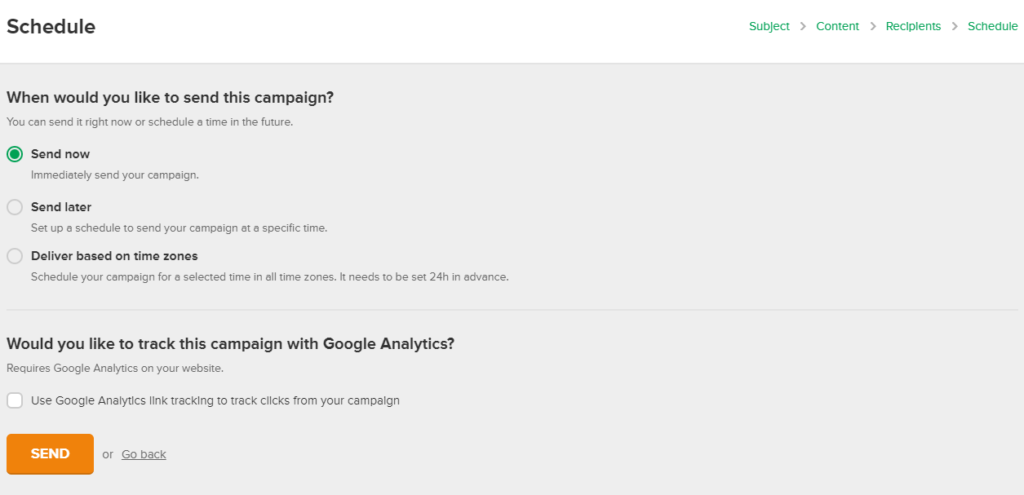
In the final step, click “Send,” and your email will be sent to the list you created. Depending on the number of recipients, this might take some time.
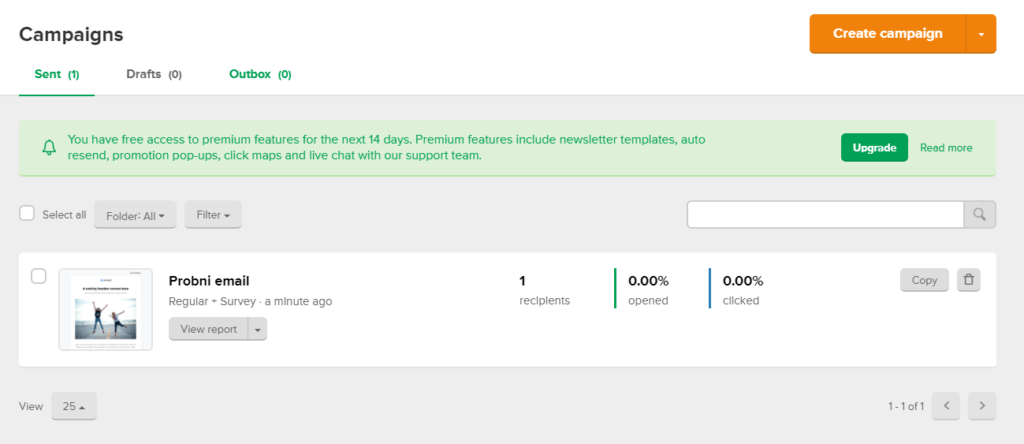
Here, you can track statistics about your email, such as the number of clicks, the number of opened emails, and those who have unsubscribed from your list.
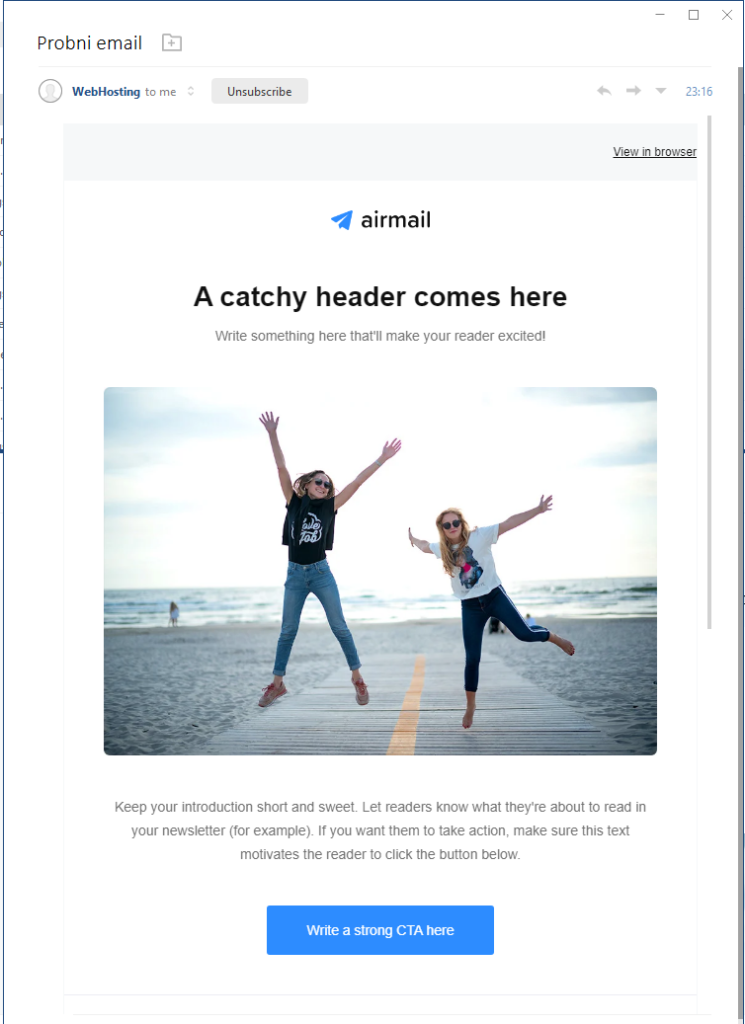
The image above shows how your email looks in an email client.
