I will explain how to connect to SSH via cPanel using the Bitvise client program, which you can download here and install.
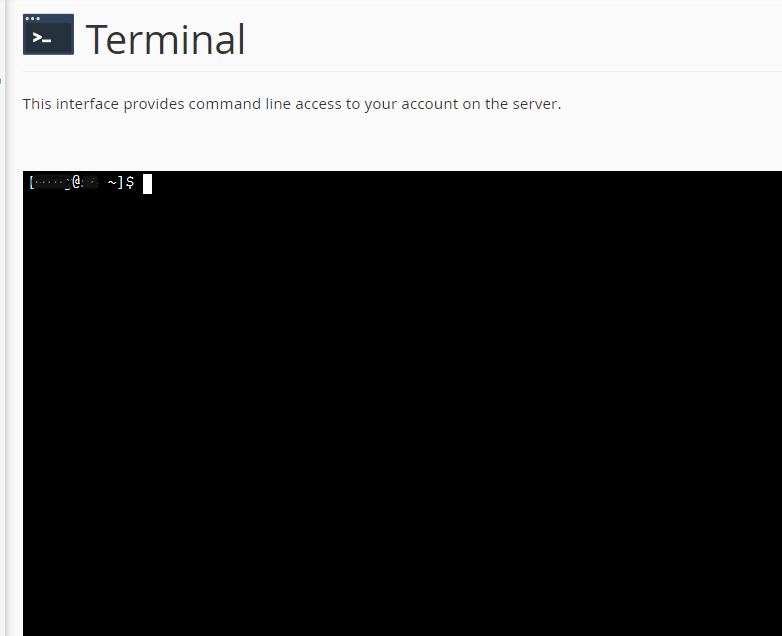
At the bottom of the article, there is an easier and faster one-click access to the hosting Terminal.
After installation, you need to open the program and click on Client Key Manager.

After that, a window will open where you click the Generate New button, and another smaller window opens.

Enter a password in the passphrase field. Enter the same password in the Confirm passphrase field below. And click Generate.
Now wait, the speed depends on your computer.
When finished, click Export, and a window will open as shown in the picture.

When you choose the OpenSSH format and click Export, a window will appear to save the file. Name the file as you wish and click save (the name doesn’t matter). Open the file (you can open it using Notepad on Windows). When you open it, it will look like the picture below.
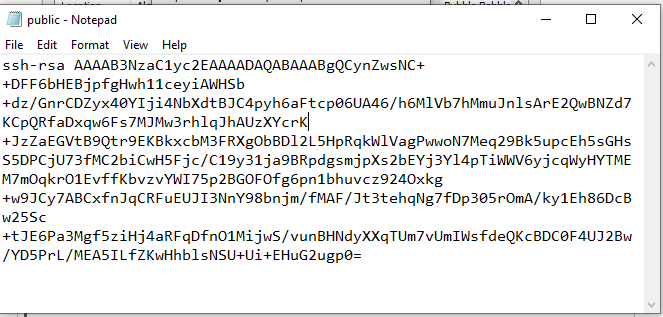
Now you need to select ALL and right-click then copy.
Now log in to cPanel and click on the SSH Access option, then on Import Key.

In the choose a name field, you may or may not enter anything, the second field remains empty, and in the third Passphrase field, enter the password you entered when creating in the previous step.
In the last field, right-click and paste to place the contents of the saved file. Then click the button.
Once you’ve done that, the key you created will be listed in the Public Keys section.
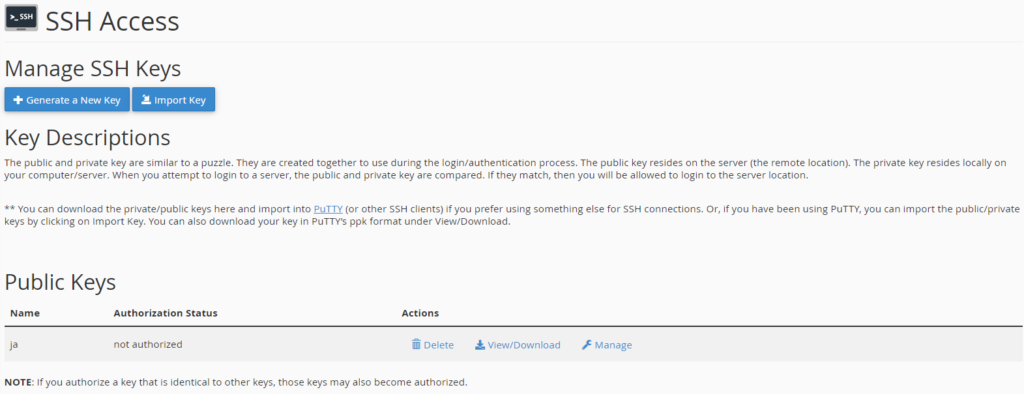
You have successfully added the key. Now all you need to do is authorize by clicking Manage and then Authorize.
Now it’s time to log in to SSH and hosting.
Let’s go back to Bitvise.
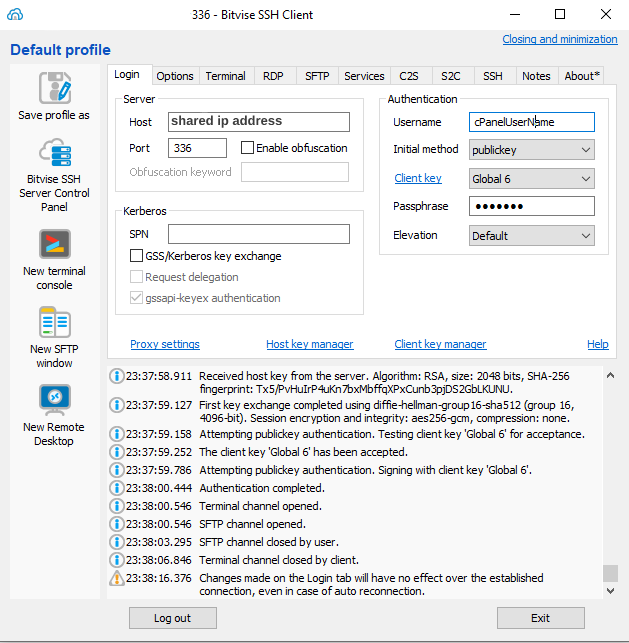
In the Host field, enter your domain (or server hostname if using CloudFlare).
Enter 336 in the Port field.
Enter your cPanel username in the Username field.
Choose publickey for the Initial method.
Choose the key you created for the Client key (second picture in this tutorial).
Enter the password you entered when creating in the Passphrase field.
If you have followed each step, you should not have any problems connecting, and the terminal will open.
If all of this is too complicated for you, there is an easier solution.
In cPanel, click on the Terminal option.
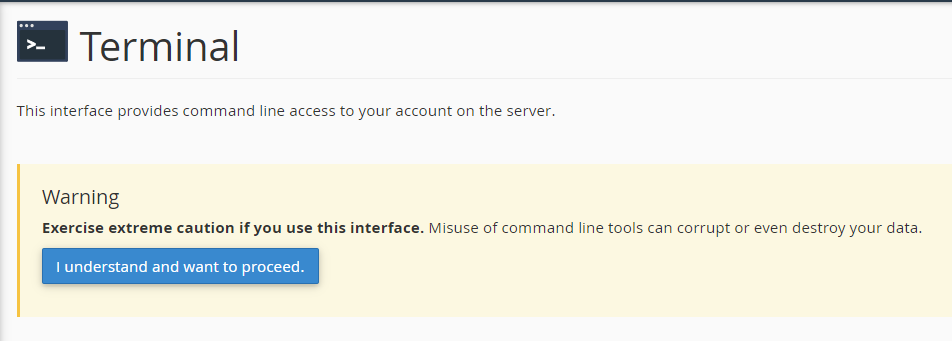
Then click on the button “I understand and want to proceed.” The terminal will open, and that’s it.
