In this part, there are two settings, one for setting up QUIC.cloud and the other for setting up CloudFlare.
Whether QUIC.cloud or CloudFlare is better cannot be answered concretely and precisely as it largely depends on your website.
In the following text, the setup for both QUIC.cloud and CloudFlare is written; choose what is better for you.
Quic.CLOUD setup
Please note that quic.cloud is still in beta at the time of this writing.

Set the first option to ON. We skip the Use CDN mapping.
In the continuation, we also skip the options and leave them as they are already set.
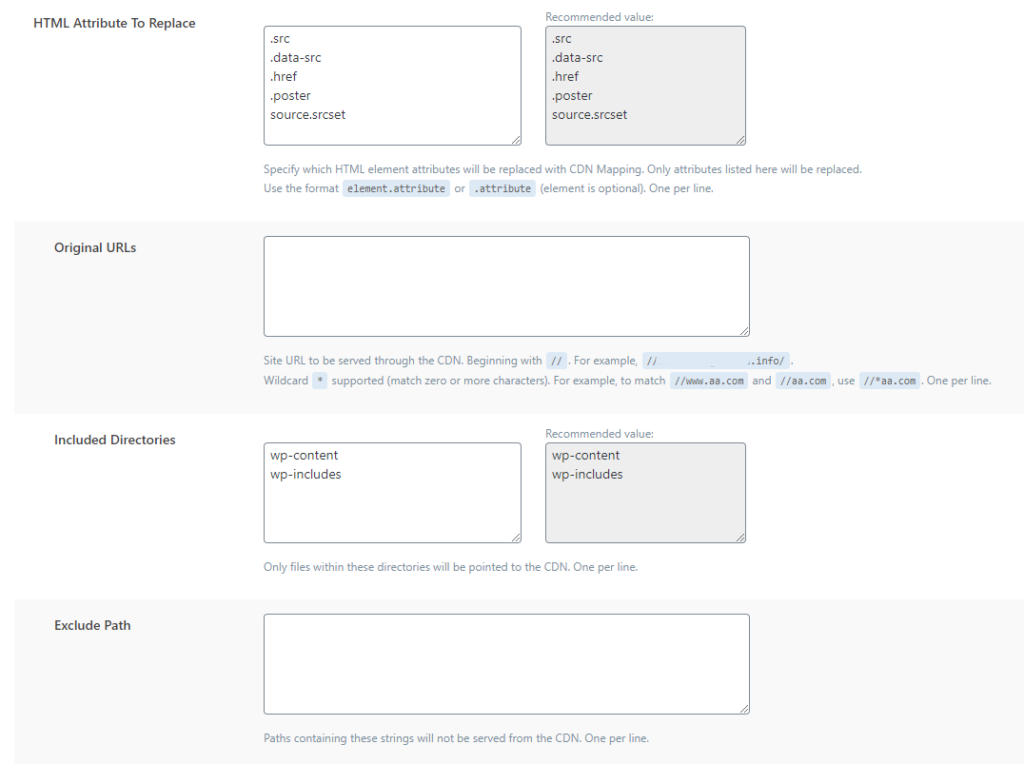
In the continuation, we still do not change the options.

Load JQuery Remotely: you can try to set this to CDNJS, but keep in mind that you need to test the site afterward to check if it works; this is crucial.
Setting up on quic.cloud website https://hostgistic.com/setting-up-on-quic-cloud-cdn/
Setting up CloudFlare CDN
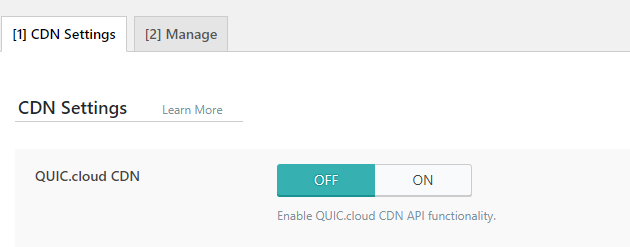
The first thing is to leave the CDN option QUIC.cloud CDN on OFF because we will use CloudFlare.
Here we go OFF.
CloudFlare API here we go ON.

In the first field, Email Address, enter the email address with which you are registered on CloudFlare.
Global API Key can be found at the link: https://dash.cloudflare.com/profile/api-tokens; you need to be logged in to cloudflare.com beforehand.
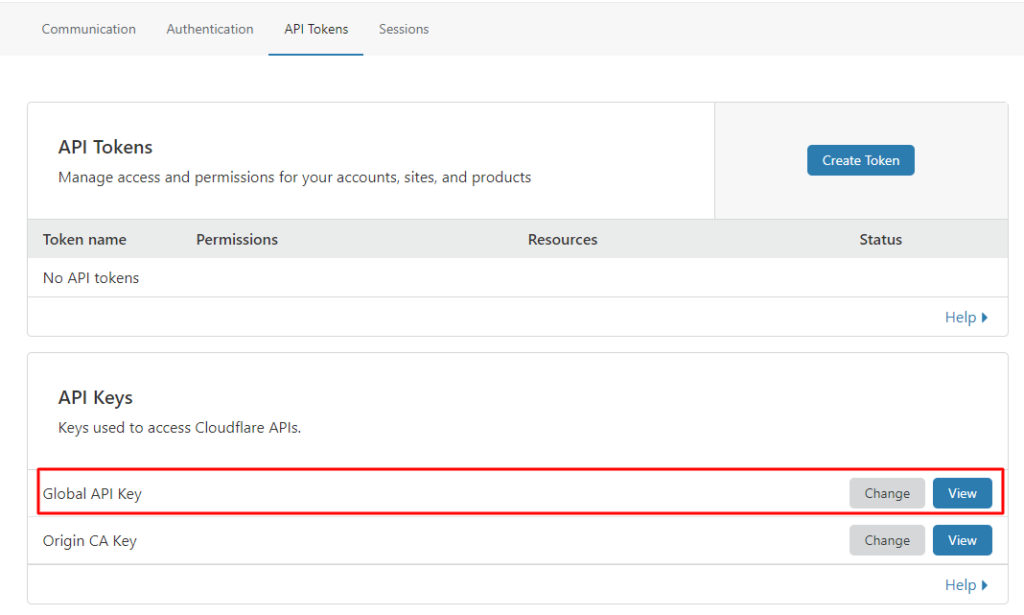
When you click on View, a popup will appear asking you to enter your password and solve the recapcha to confirm it’s you.
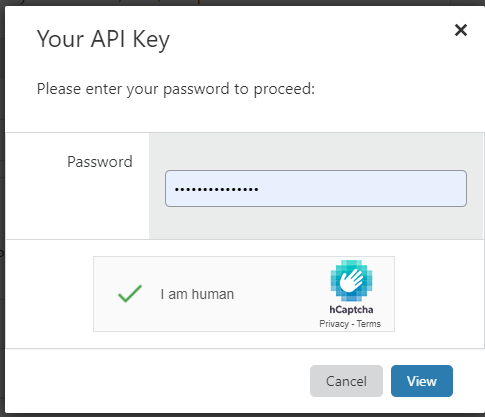
After clicking View again, the key will be displayed, which you copy and set up on your website.
After that, click on save changes, and you have connected CloudFlare.

After that, when you click on Manage in the CDN option, you will get as in the picture below.

Here you can clear the entire cache from CloudFlare by clicking on Purge Everything if you have been working on the site, and enable Development Mode if you are working on the site and do not want it to be cached while working on the site.

