Unlike Memcached, Redis uses RAM and noSQL for caching, which should theoretically work faster than just a Memcached system. Redis uses a noSQL key-value model for storing and managing data.
Redis is an open-source project that is constantly evolving. It has a reputation for improving the speed and loading times of larger and more visited websites.
Setting up Redis in WordPress
If you haven’t already, set your site to run on PHP version 8.1. If you don’t know how, contact our support team; we are always available!
As with everything in WordPress, you need to enable a plugin. Install and activate a plugin of your choice; we tested two: Redis Object Cache and W3 Total Cache.
In the wp-config.php file, you need to add two lines of code that will help with caching.
define( 'WP_CACHE_KEY_SALT', 'salt' );
define( 'WP_CACHE', true );
For salt, you can enter a salt that WP automatically generates at the link: https://api.wordpress.org/secret-key/1.1/salt/
Plugin Redis Object Cache
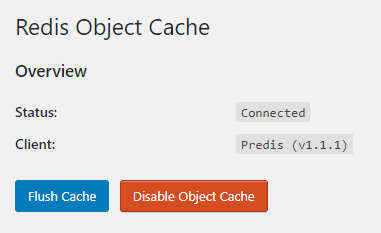
When activating Redis Object Cache, simply click enable, and that’s it. The plugin connects itself, and caching has started.
Plugin W3 Total Cache
After installation, click on General Settings, and you will get a list and a longer page with settings. Let’s go step by step.
Page Cache
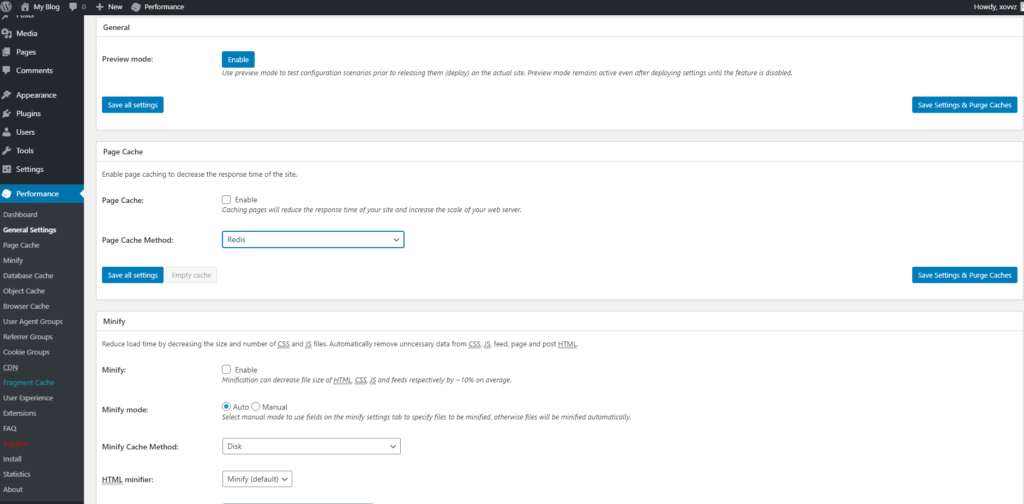
After clicking on General Settings, go below and look for the Page Cache section, where we check Enable and choose the Redis method. Then, just in case, click Save All Settings.
Minify
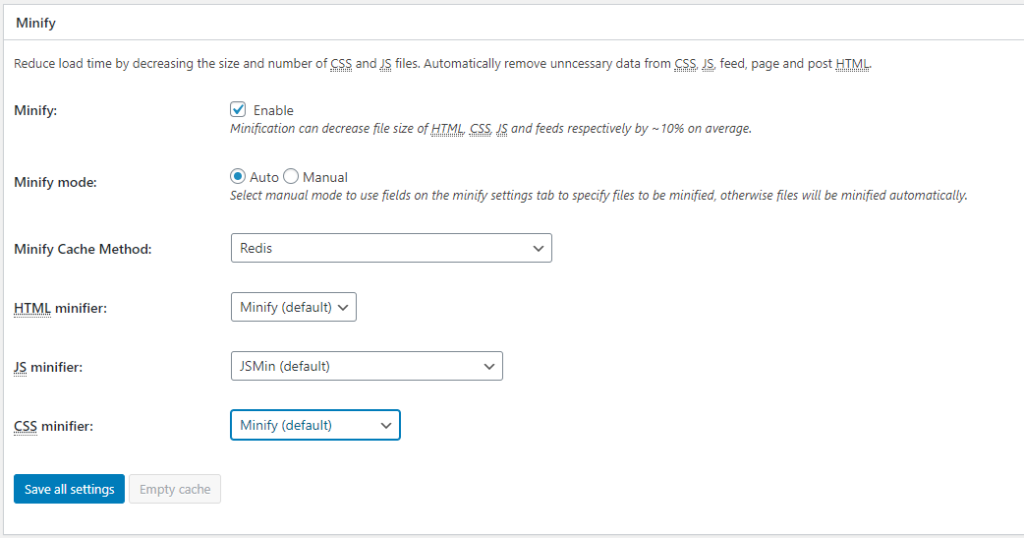
Here we look for the Minify section, where we check Enable and choose the Redis caching method. Keep in mind that minify changes all HTML, JS, CSS code and puts it in a single line. Here’s an example of how it works:
<html>
<head>
<title>Some Example</title>
</head>
<body>
... . ....
</body>
</html>
Prebacuje u sledeći kod:
<html><head><title>Some Example</title></head><body>.....</body></html>This is done with all code, so while this is a great idea and should work in most cases, enabling minify may cause your site to malfunction or some parts to break.
Database Cache
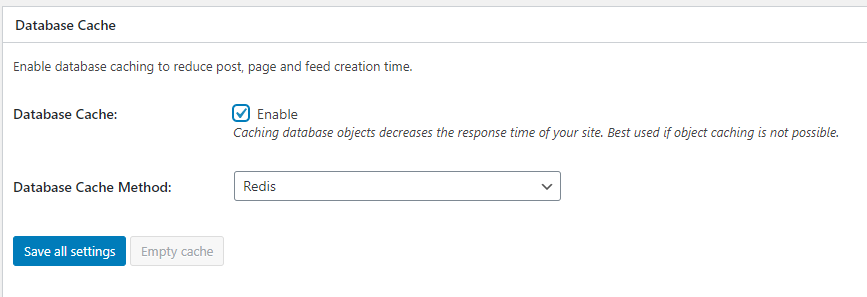
Check Enable and choose the Redis caching method. After that, click Save All Settings again, so we don’t accidentally lose any settings for any reason.
Object Cache
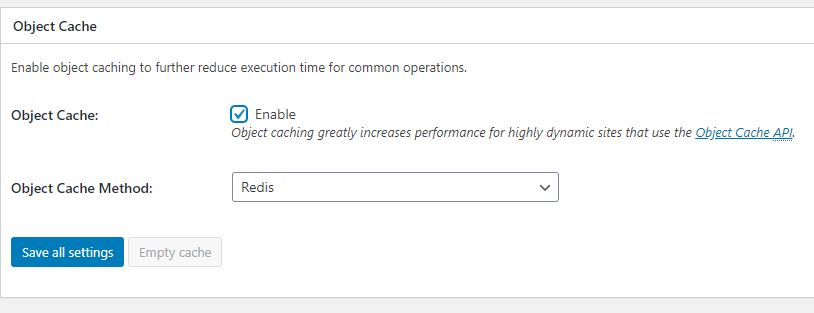
Find the Object Cache option, click Enable, and select Redis caching from the drop-down list, then be sure to Save All Settings afterward.
Fragment Cache
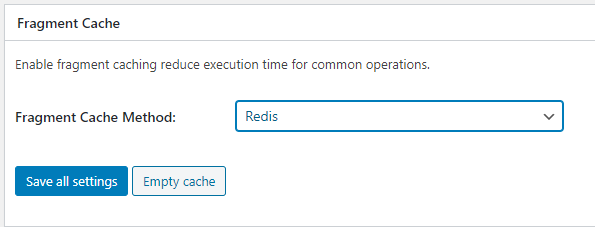
In this option, we can also choose Redis. Save with Save All Settings.
Page Cache Advanced

Here you can test if it works and have additional settings for caching itself.
The same applies to each of the options we selected. When you click on any of those options from the left-hand menu, you will see additional settings. For each setting, there are many tutorials on the internet; you can also test it yourself, but first, create a backup, so if something goes wrong, you can restore and have a functional website.


