Transferring a website from localhost (your computer) to hosting can be confusing for beginners sometimes. Therefore, developers have created a plugin that simplifies the process.
This is not just transferring from a computer to hosting, but it can also be done from hosting to hosting. The process is entirely the same.
First, you need to install the plugin and activate it.

After activating it, click on the newly installed and activated Duplicator plugin, and its icon will appear on the left side.
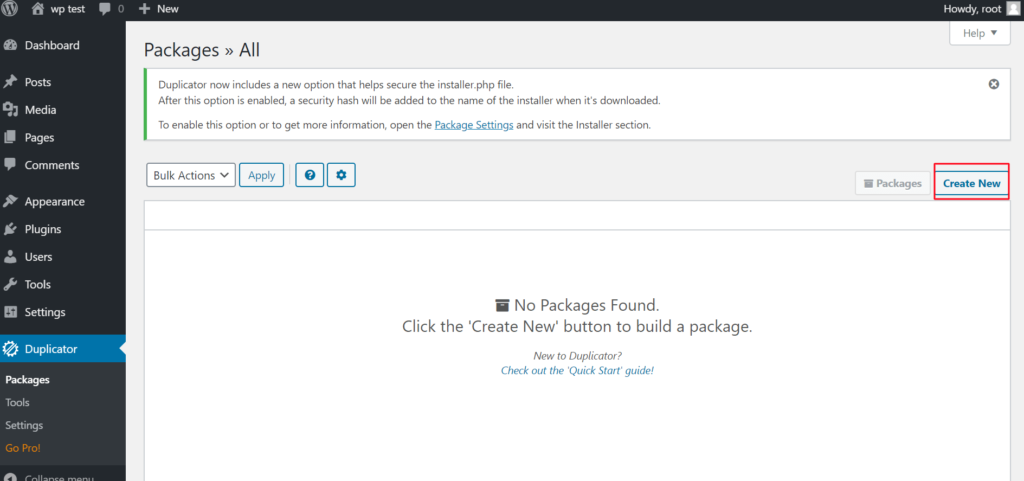
Once the page opens, click on the “Create New” button marked in red. This means creating new files for transfer.
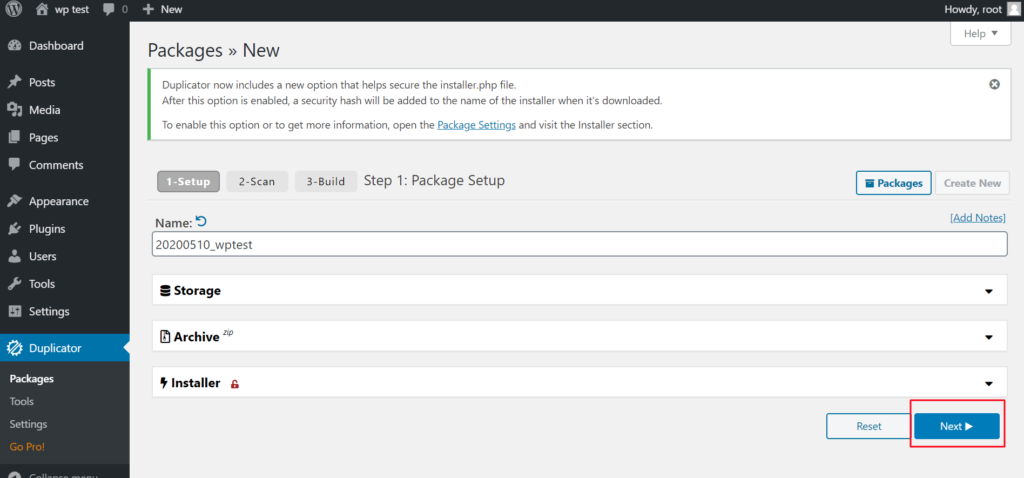
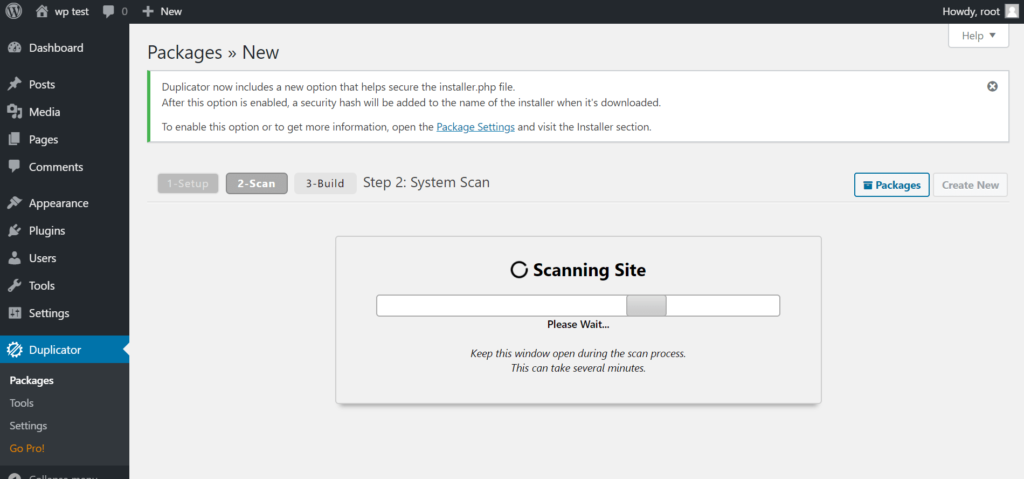
In this case, we go with “Next,” and the site scanning will appear as in the image below.
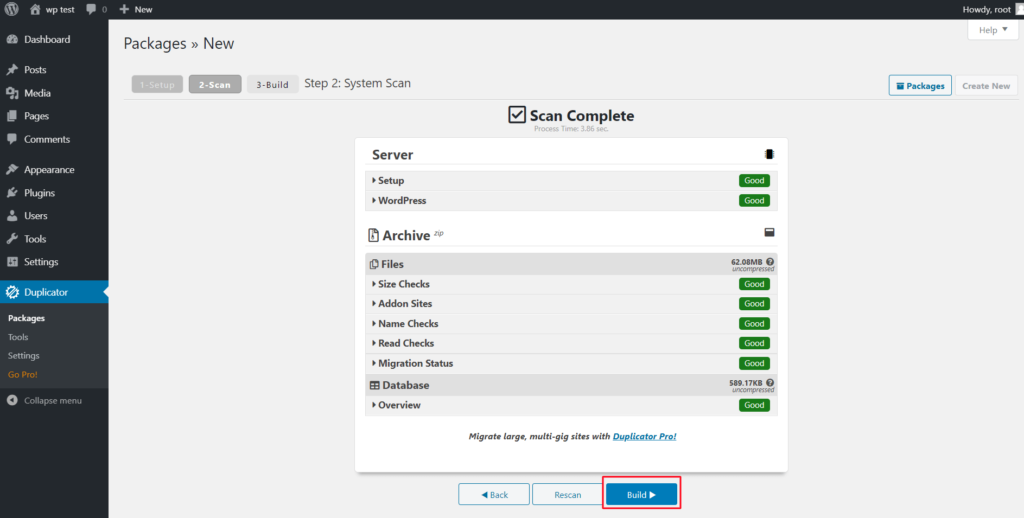
After the scanning is complete, it should look like this. The important thing is that everything is green. Then, click on the blue button.
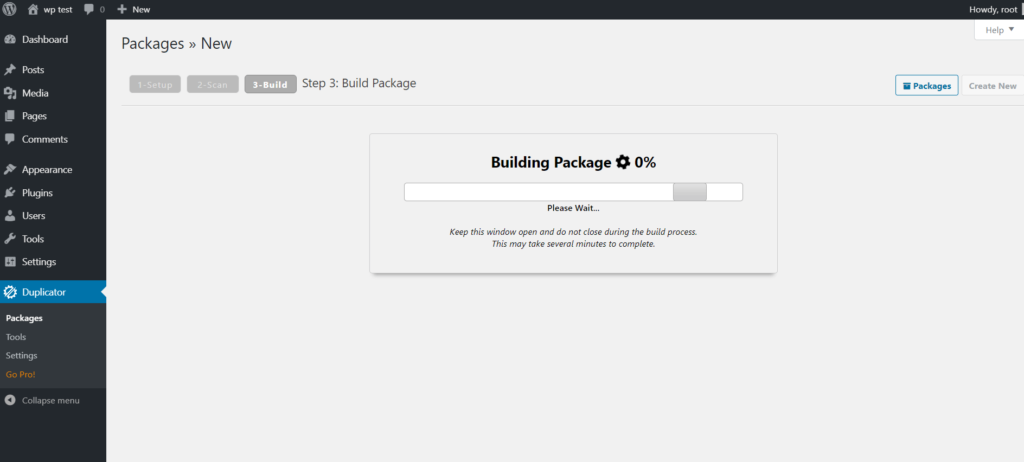
At this moment, a backup file is being created, which will be used to transfer the site to hosting. And upon completion, you will get the image below.
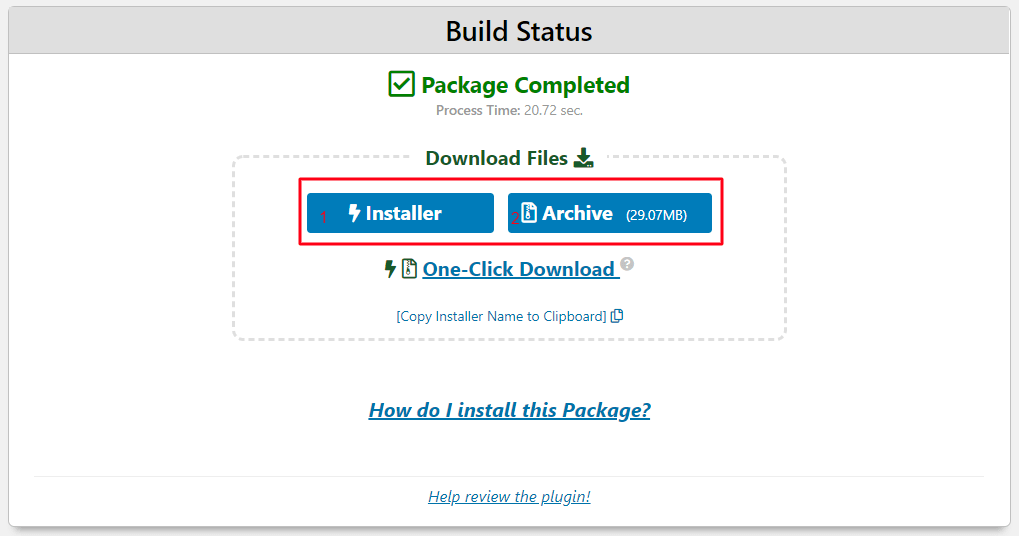
In this step, you need to download both the Installer file and the Archive file. Download them by clicking on both buttons and downloading them one by one.

Here comes the most challenging part of this tutorial, which is logging into cPanel and clicking on the icon outlined in red. After that, you will get an option like in the image below.
Note: Write down these three items on your computer, as you will need them later.
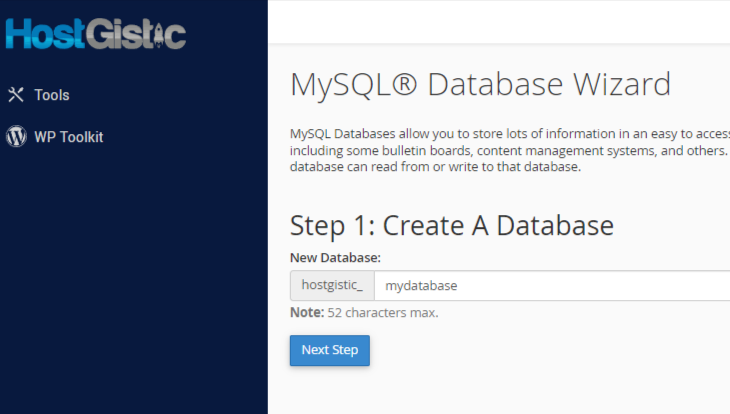
Enter the database name, and do not use words like “database” or “test” or “wptest.” Instead, use something unique and not so logical. After entering, click “Next Step.” The next step is creating a user for that database, as shown in the image below.

When you have created the database, it is time for the user. Also, follow the rules above not to use anything like “test,” “trial,” or similar, but something unique and not so logical. When creating a password, I highly recommend using the Password Generator, as seen in the image, and copying that password and entering it into the fields on the left.
The reason is that cPanel generates a reliable and robust password that will provide additional protection for your site from hackers.
After creating, click on “Create User.”
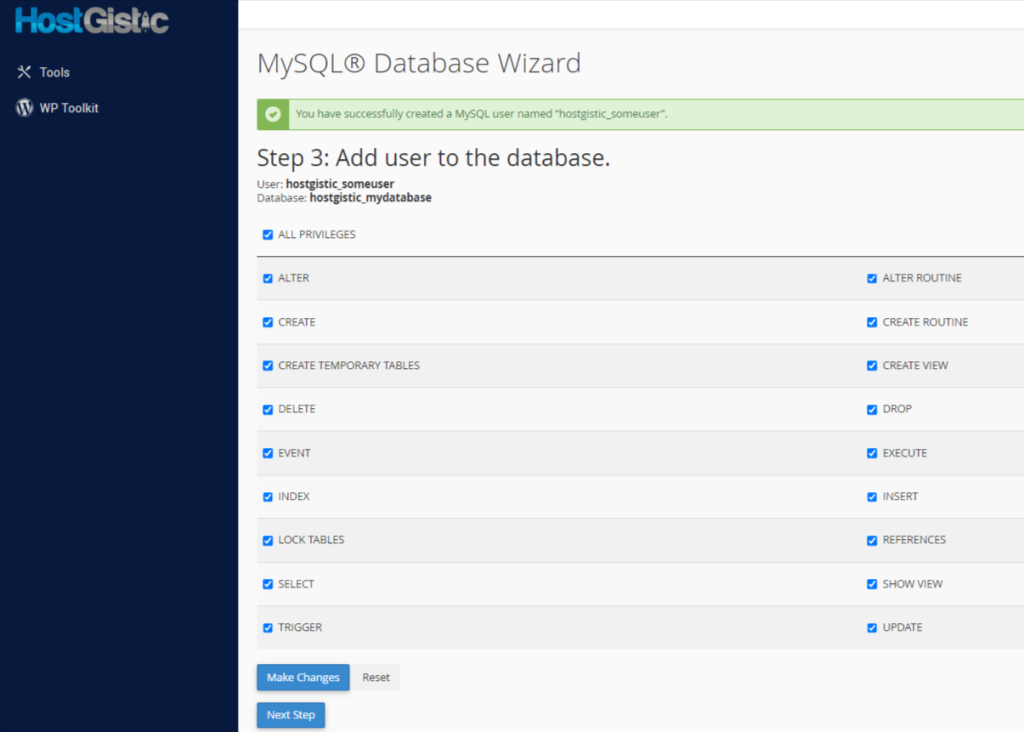
Now, we assign the user to our created database and grant them all the necessary permissions for the site to function. Check “ALL PRIVILEGES” and click “Next Step.”
That’s it. The hardest part of this tutorial is over. Keep in mind that you need to save these three things, as you will need them in the next step.
Now we need to upload the files we downloaded earlier using the Duplicator plugin.
Go back to the cPanel home page and click on “File Manager,” as shown in the image below.
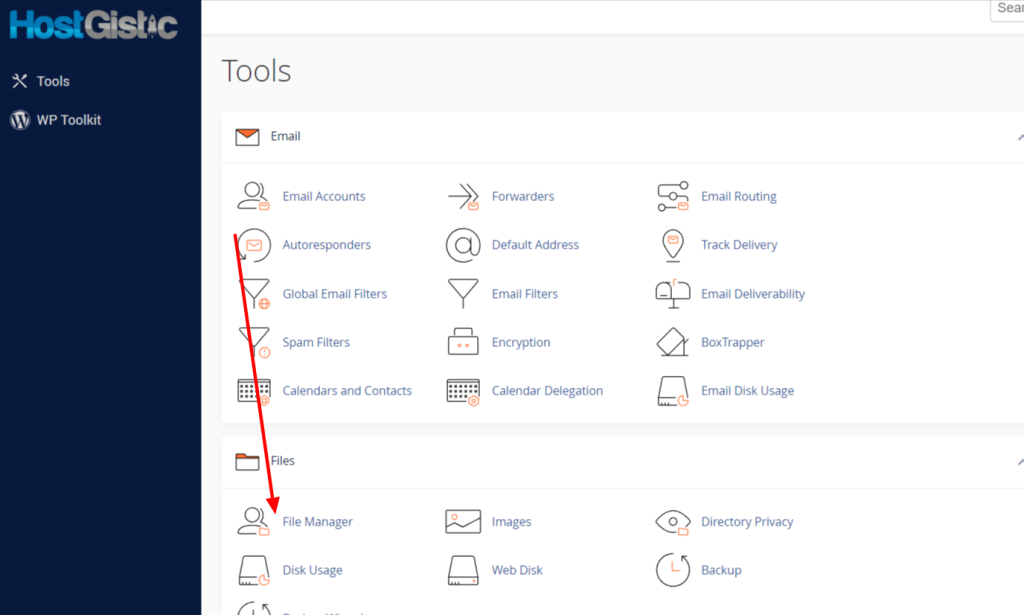
Then, click first on the “public_html” folder (or the folder for the Addon Domain) and then on the “Upload” button, as shown in the image below.
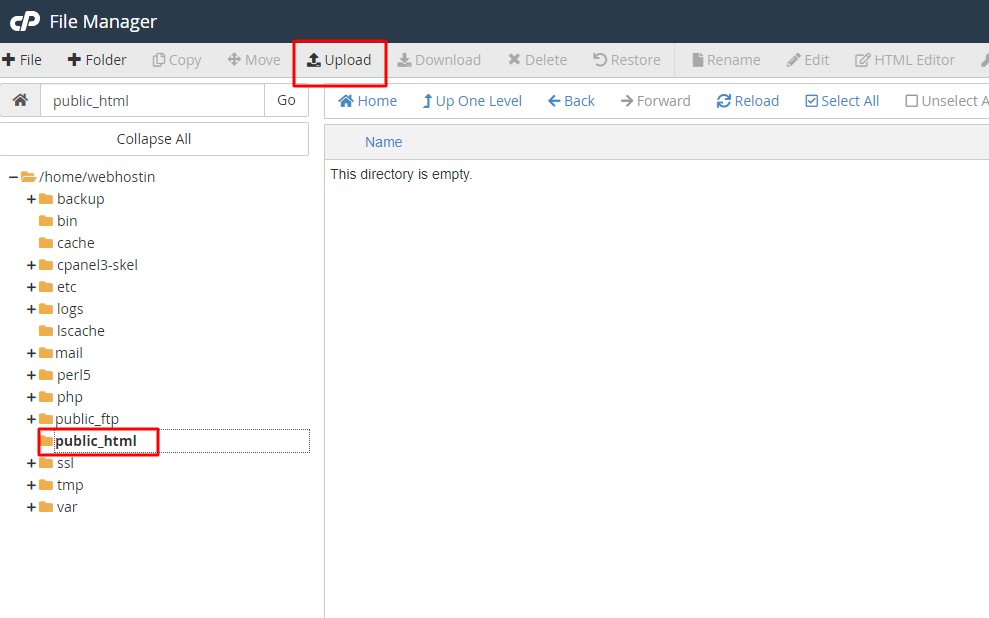
After clicking, a new tab will open, allowing you to upload those files. Select the files and upload them.

After completing the upload, open the “installer.php” file we uploaded. To do this, type your domain, a slash, and the file name “installer.php” in your browser’s address bar (example: hostgistic.com/installer.php).
When you do this, you will see something like the image below.
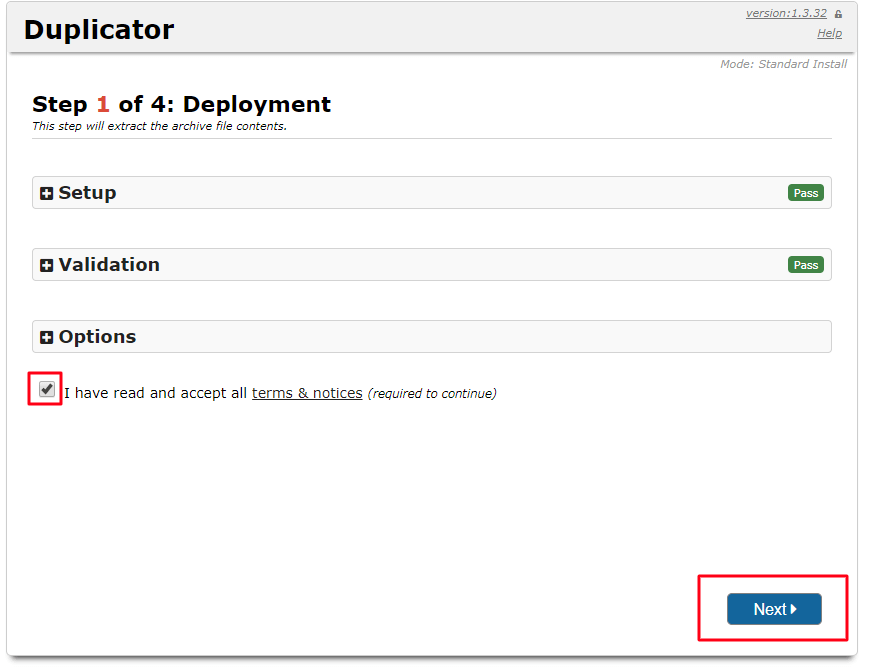
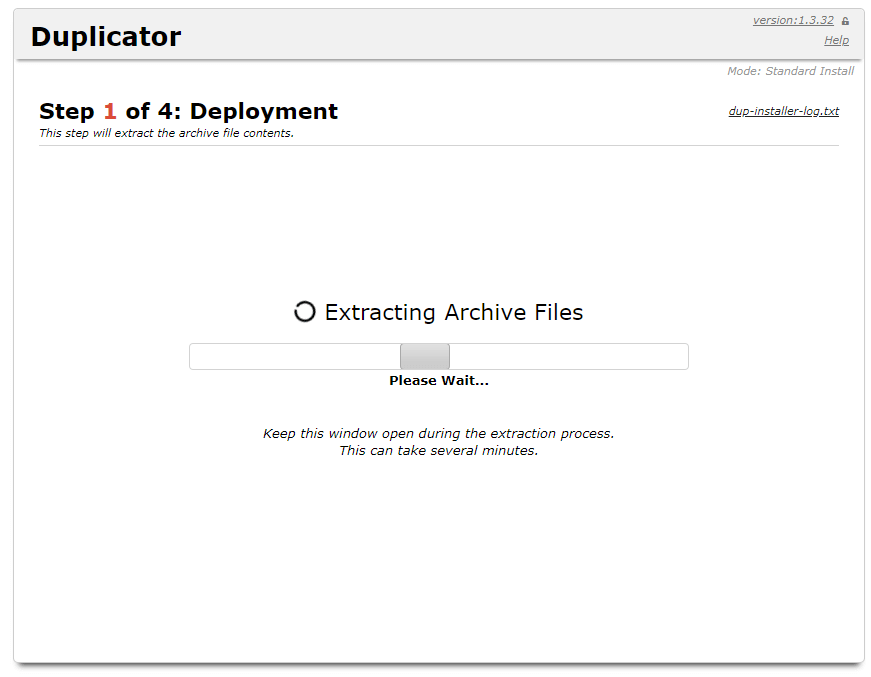
Great, now you need to check the terms of use and click the “Next” button. Keep in mind that the setup and validation must be green. After clicking, you will see a loading time depending on the size of the site, as shown in the image below.
Now that this is done, it’s time to use the database information we saved in Notepad and copy it here. The data we copy are the database, database user, and password for the created user.
If you haven’t saved this information, you can find it in cPanel > MySQL Databases, and you can create a password on the same page but at the bottom of the page.
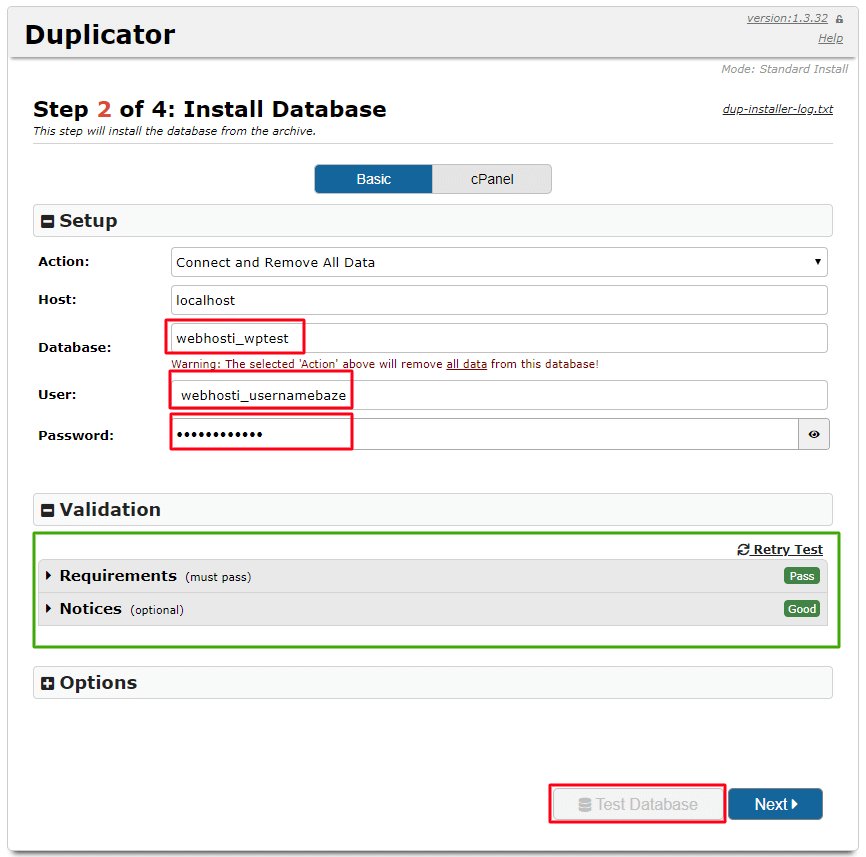
After filling in the required fields, click on “Test Database,” and you will see Validation outlined in green, where you should get a green result. Once you have turned green, click “Next.”
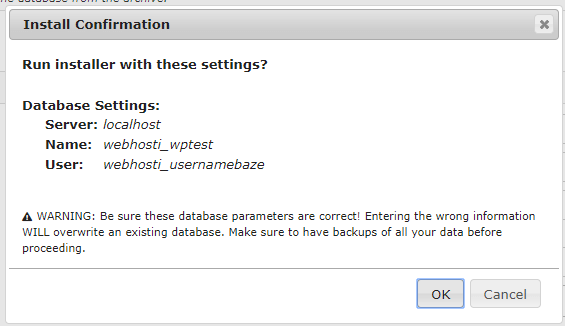
Here, you will get a small popup where you need to confirm by clicking “OK.”
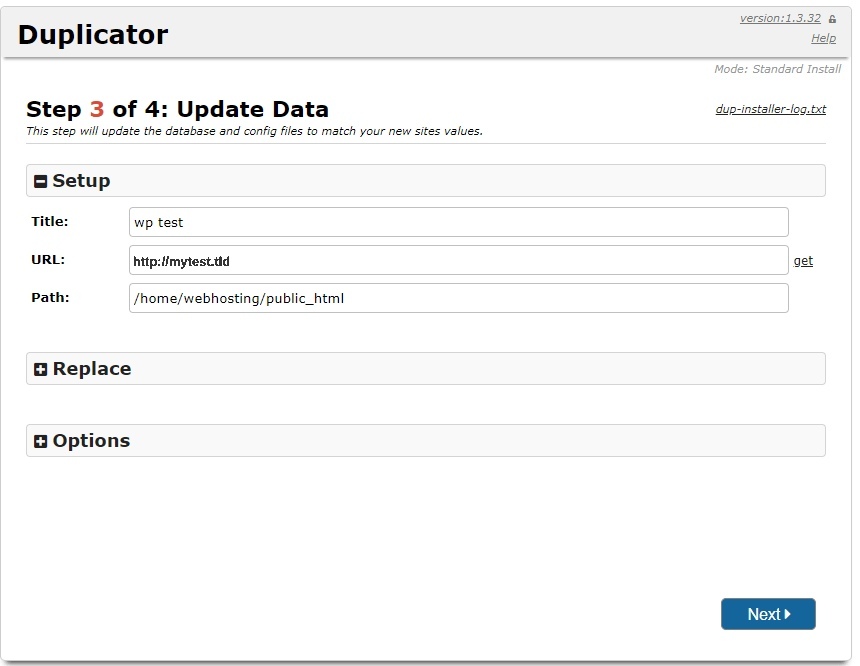
In this step, the basic information of the new site is set. The plugin automatically changes the site URL from localhost to the domain you are using (if it is http://, set it to https:// because this will enable SSL, which you get for free and automatically with us). Click the “Next” button.
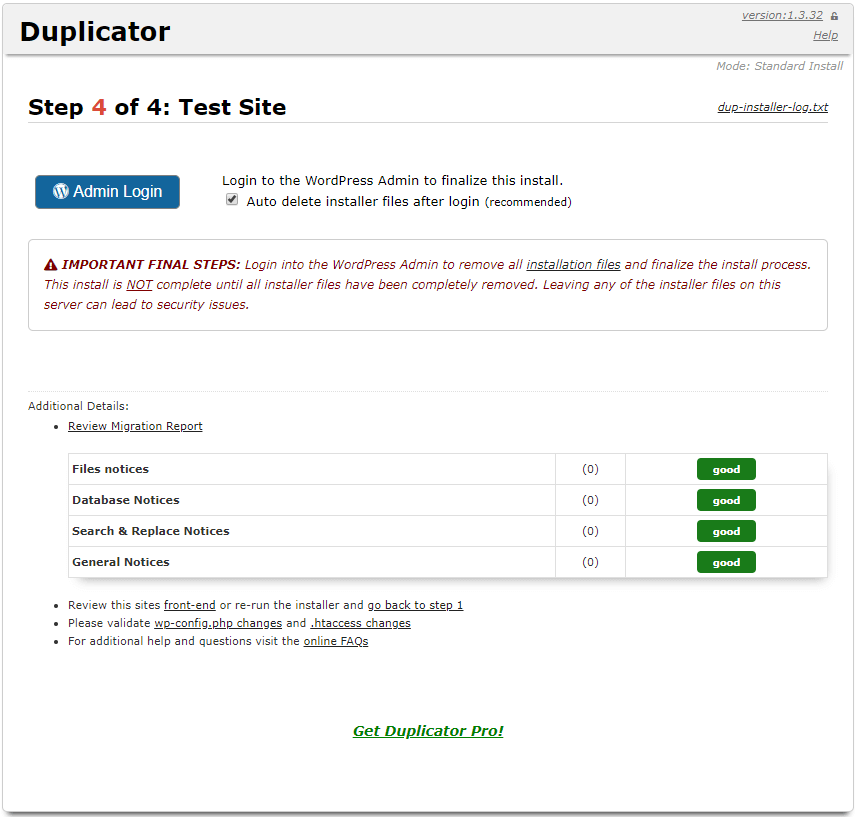
Great! You have successfully transferred the entire site, and now you can log in to your site with the new domain.
After this, it is necessary to delete the plugin because it is highly recommended to delete any unused plugins and themes. The same applies to the theme.


