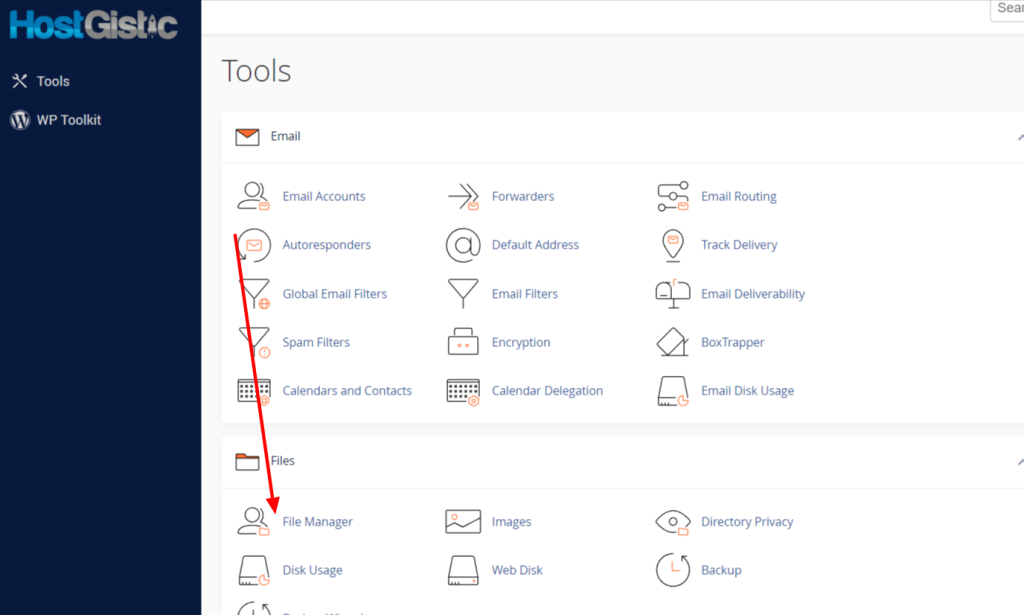
As great and easy to use as automatic backup is, it is executed at a predetermined time, and sometimes you need to create a backup right before updating your website or making changes to it. That’s where manual backup comes into play. First, you need to log in to cPanel and find the Backup option.
To create a backup, you need to have 50% free space on your account.

When we click on Backup, we’ll get the option to create a backup of the entire account, which is the best option.

Here, besides the full backup (Full backup), you also have the option to create a backup in parts: home directory, database, email filter, and email forwarder. Keep in mind that restoring a full backup is not possible through cPanel; it is the most comprehensive backup, but it cannot be restored (in most cases, neither can the Home directory backup), so it has to be done manually, which I will show in the continuation of the instructions.
Click on “Download a Full Account Backup” to get a page like the one in the picture below.

Leave the home directory in the first part, and the second field is whether you want to receive information about the backup completion via email or not.
Click on Generate Backup. After that, a message appears stating that the backup has started, and the duration of the backup creation depends on server load and the size of the hosting account. It can take from 1 minute to a full hour.

Do not refresh the page (F5) here, as you will create a new backup request and potentially block your account by creating backup files.
When we return to the previous page, we will get a list of created backups, or if they are not yet created, it will say progress, which means that the backup file creation is in progress.

You can refresh this page to check whether the backup has been created. Once it has, it will appear as in the picture, and there will be a link that you can click. After clicking, you will be offered to download it to your computer; do so.
After downloading the file to your computer, you can delete it from cPanel > File Manager by right-clicking and selecting Delete. This frees up space on your account for the next backup or for use.
Now that we have downloaded the backup to our computer, we have the entire account to transfer the account if we change hosting providers, or if something happens to our website or the entire account, we can easily restore it as it was.
Restore files and database
You can unpack the downloaded file using a program like 7zip. When you unpack the file, you will find another file inside that you need to unpack, and when you enter it, you will get the entire account as in the picture.

The most important options here are homedir and mysql. The homedir is literally your entire home account, including emails and all websites, while mysql contains all the databases you had on the account.
Restoring files involves right-clicking the zip, uploading, and extracting.
Enter the homedir and find public_html (the main folder of your website located on the main domain) as well as other files. To restore the files of our website, right-click on public_html and zip it (it must be a .zip file).
If you have multiple websites and want to restore only one of them, right-click on that website’s folder and zip it. The rest of the tutorial will be related to public_html, but you can do this for your website’s folder if it’s not public_html.
Now we need to go back to cPanel and find File Manager and then click Upload.

When we click on Upload and upload our public_html.zip

Once it is completely green, we can click “Go Backup to …” and it will take us back to the home directory and refresh it, where we can see the uploaded public_html.zip file. Right-click on public_html.zip and then Extract.

Just confirm Extract Files. By doing this, we have restored the public_html folder. We could have previously deleted the public_html folder and then extracted it again. With this, we have completely restored the website files.
Restore the database

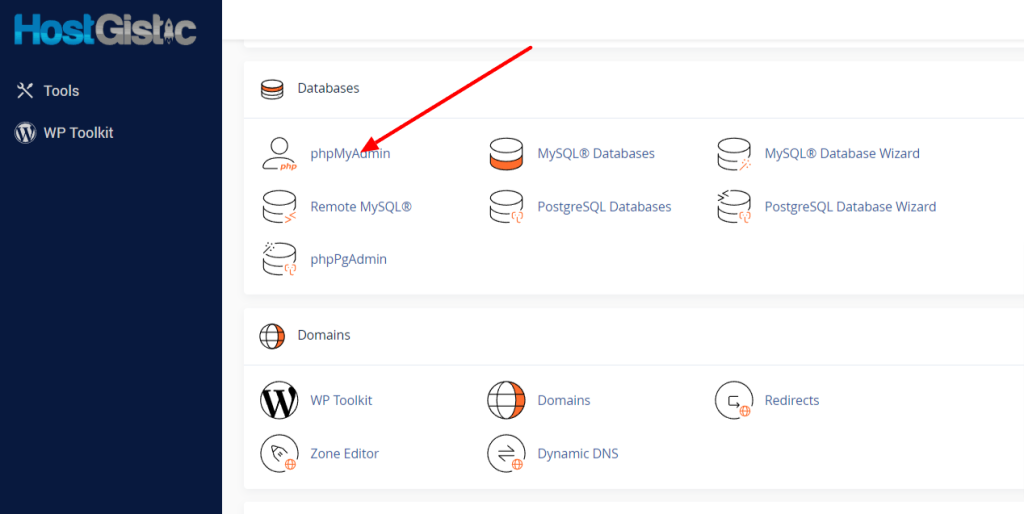
Then find our database.
If you have multiple websites and don’t know which database is yours, go to your domain’s folder (if it’s the main one, it’s public_html; if it’s an addon, go to Addon and click on the link below Document Root), and in that folder, you have a wp-config.php file. When you click on it, right-click and select Edit; in one of the lines, there will be DB_NAME, and the name of your database will be between the quotes.

Our database created for this example is webhosti_dfasfsa. Left-click once, and tables of that database will appear on the right side. Click on Check all, then on Drop, and then on Yes to delete everything from the database before importing the one from the backup.

Now that we have deleted everything, go to Import and select the database from our unpacked backup file and the MySQL folder.

After executing the import, a green message will appear, indicating that it was successful.
This is the complete manual restoration and backup of one website. If you have multiple websites, you need to do this for each one separately.
For a complete account without this, you will have to use the automatic backup and restore option in cPanel.
Restore Emails
To restore emails, go back to our unpacked file and the Homedir folder containing two folders, etc and mail. Select both folders, right-click and ZIP (must be .zip). Upload this file to the home directory of our account, then right-click on the zip file and extract to unpack both folders.
That’s all there is to restoring emails.


